How to make 3d button in illustrator
How to make 3d button in illustrator
In this tutorial you will learn how to create 3d button in adobe illustrator. Within some easy steps to follow you will create this kind of button for your project, you can place any logo or icon above and create your series of social media icons or any kind of button etc. You can easily change color of the button from a single layer modification, watch the tutorial till end, thanks.
Steps to create – 3d button
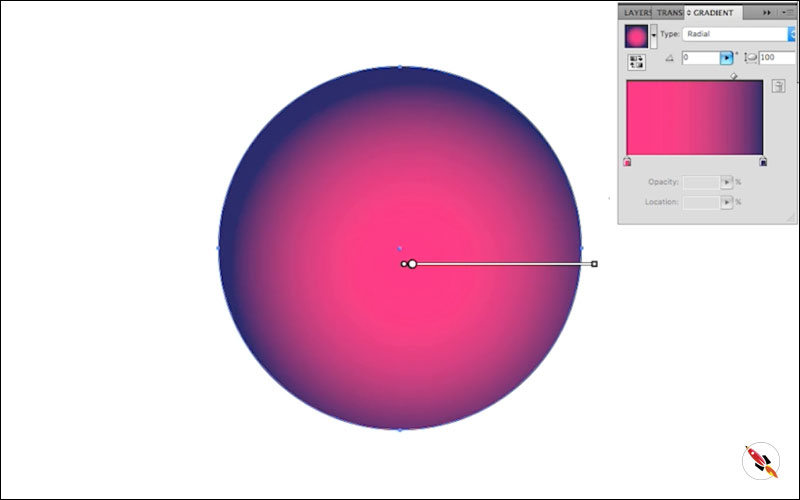
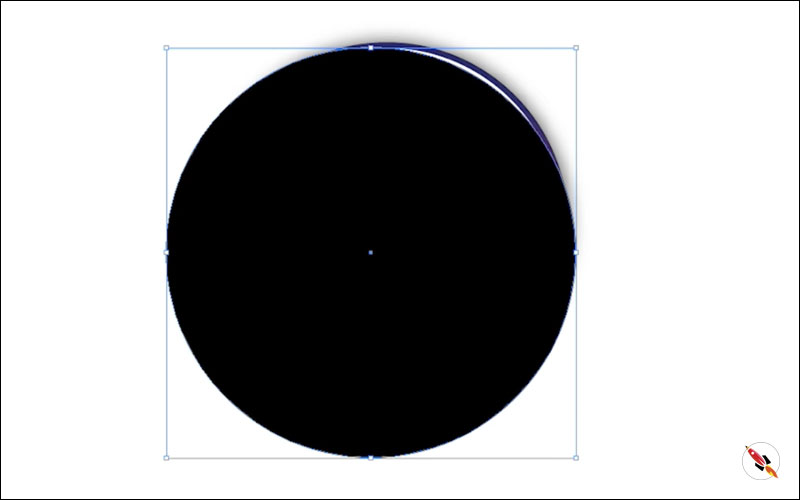
Create a circle.

Apply Gradient, Click on the “Gradient Tool” from toolbar & change position. Place it slightly down and right
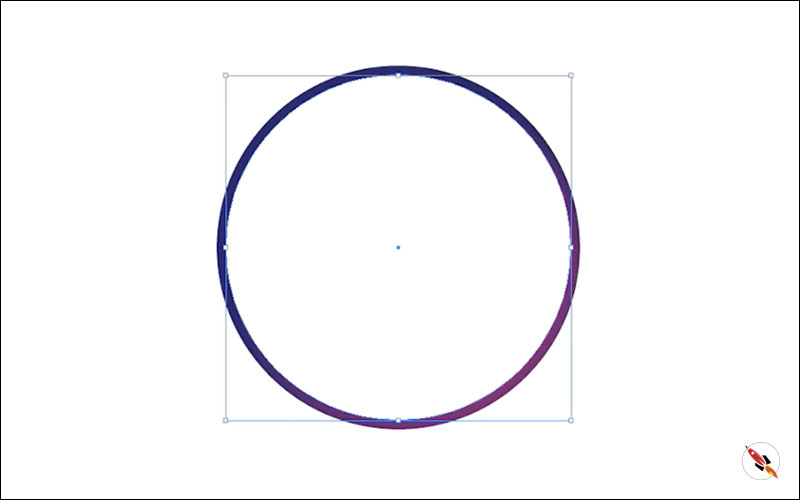
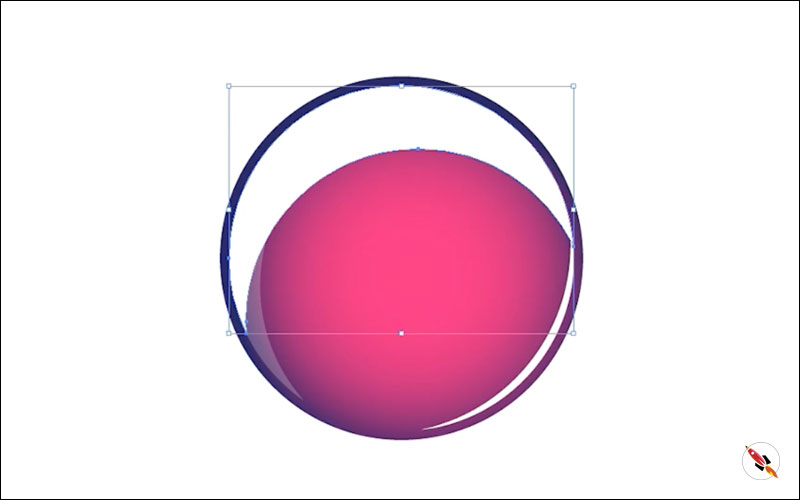
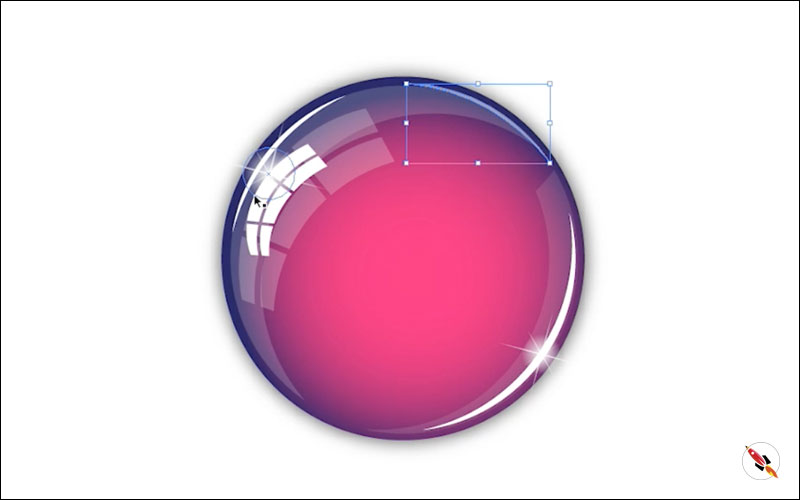
Now its time to start creating highlighted parts.
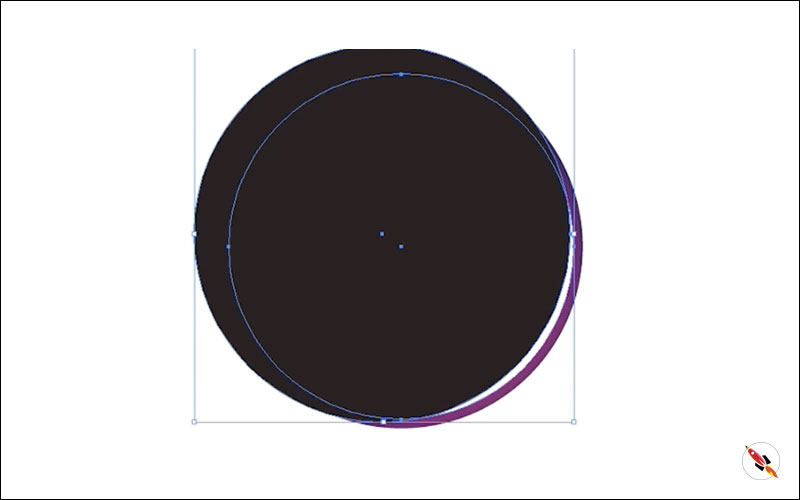
Make another circle, that will slightly less then earlier one. Copy this circle for further use, we will make more copies later on
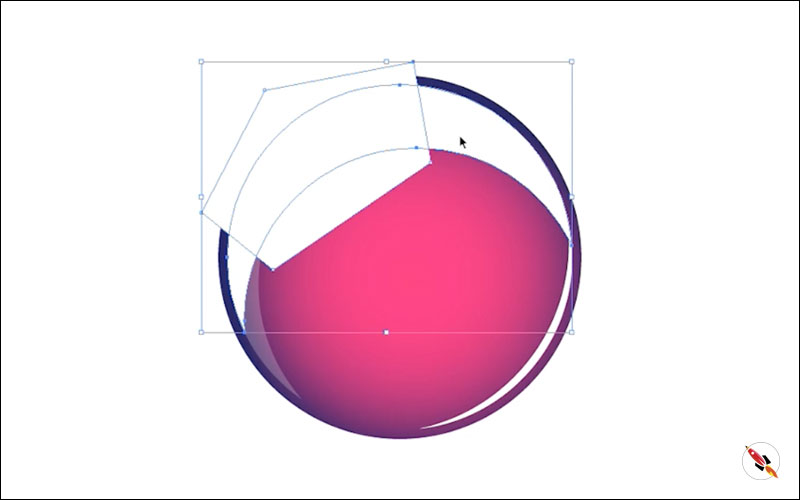
Highlighted Point 01:
Paste that copied circle again, move it slightly down & right.
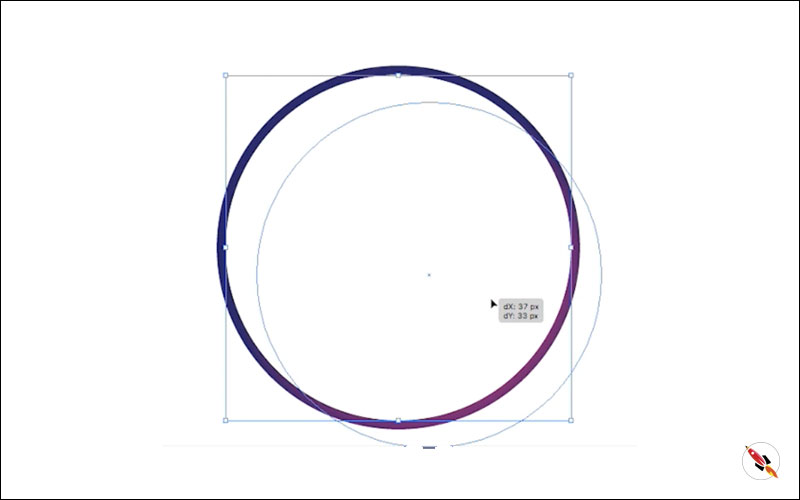
Select both & minus front from “Pathfinder“.
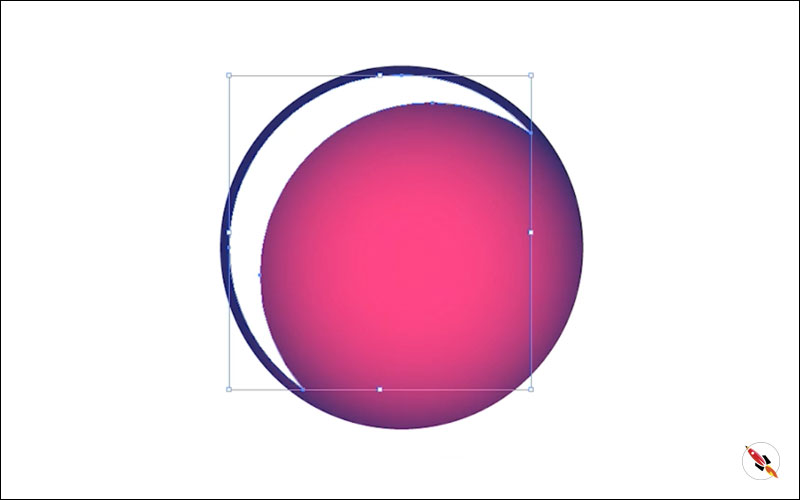
Decrease opacity. I make it approx 20%.

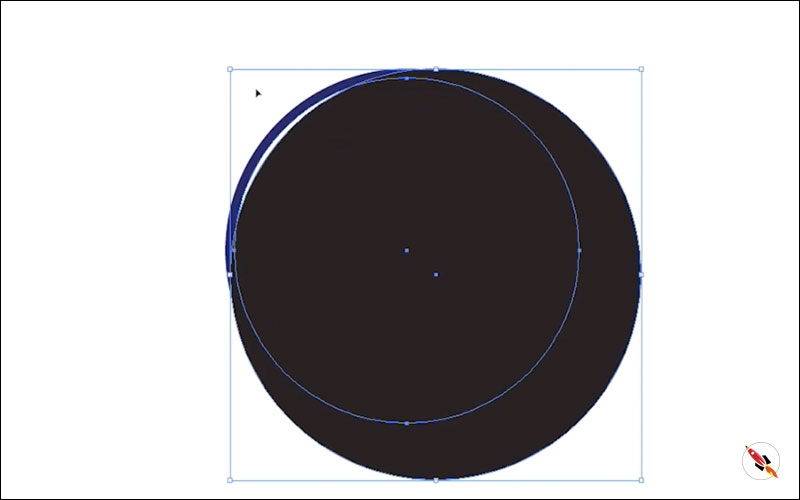
Highlighted Point 02:
– Paste that copied circle again.
– Paste twice
– Make upper-one slightly big.
– Move it slightly Left and Up.
– Select both circle & minus front from “Pathfinder“.
Highlighted Point 03:
– Paste that copied circle again.
– Paste twice
– Make upper-one slightly big.
– Move it slightly right and down.
– Select both circle & minus front from “Pathfinder“.
Highlighted Point 04:
– Paste that copied circle again.
– Paste twice
– Move upper-one right and down.
– Select both circle & minus front from “Pathfinder“.
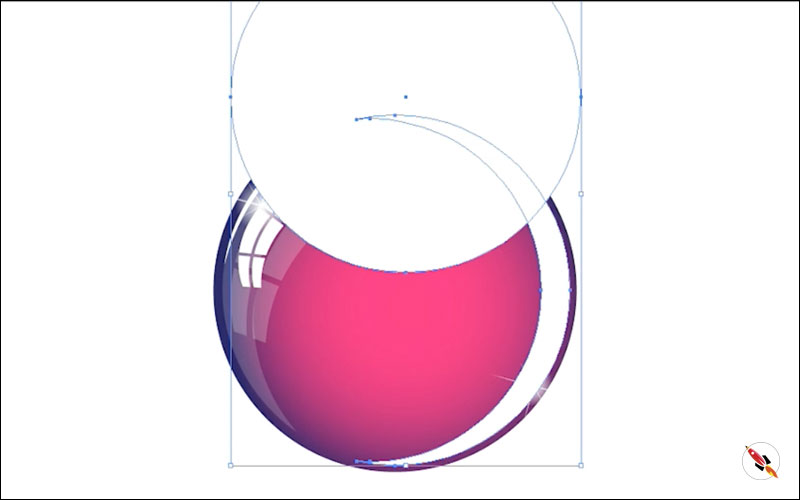
Make a this kind of shape or a box above this layer
Select both layers and cutout the middle part using “Intersect” tool from pathfinder.
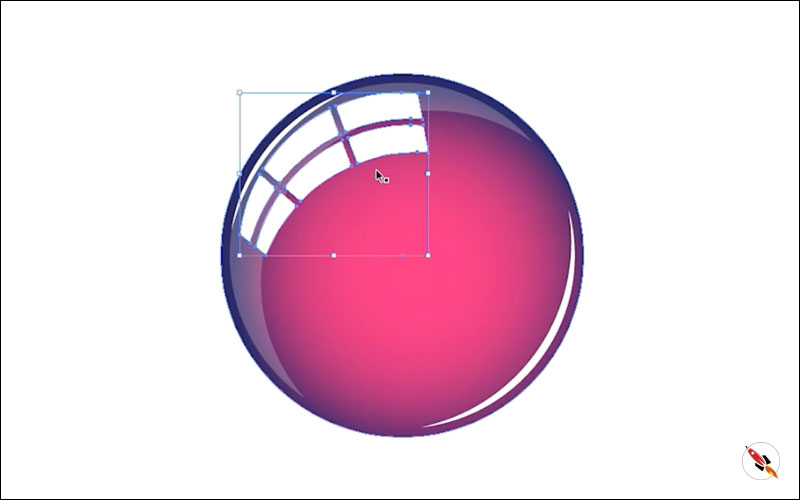
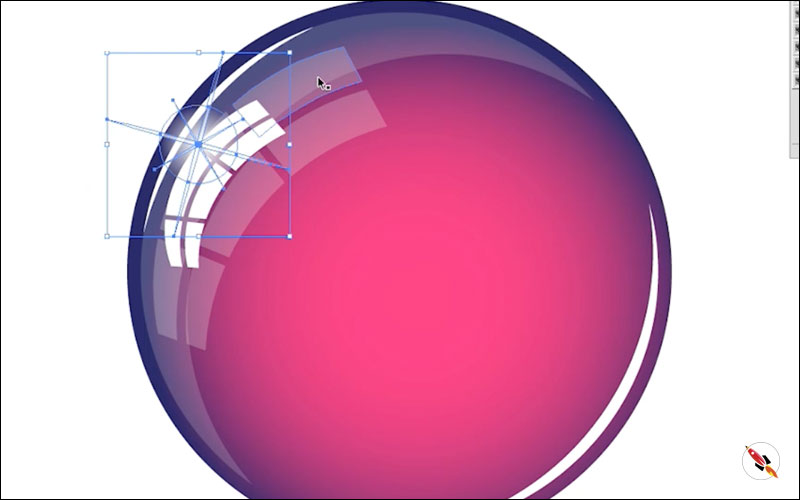
Now creating a shape like light boxes, create a circle and use only their border part. Expend it and use “Minus front” from “Pathfinder” toolbox.
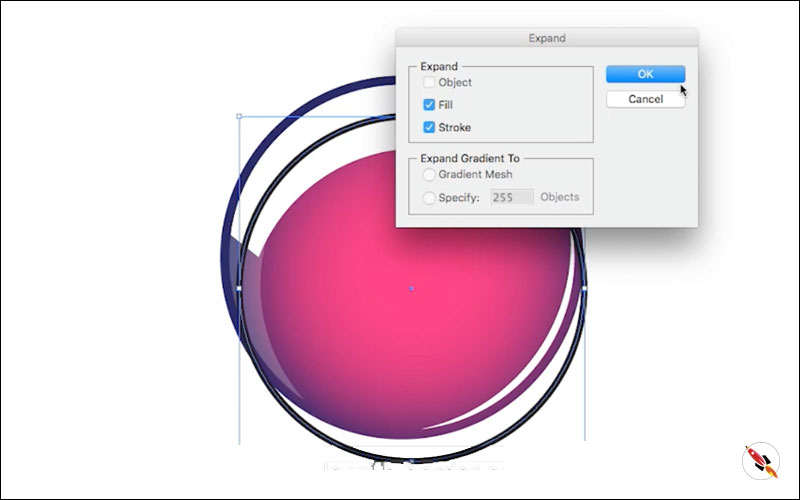
When we create this shape, its became two different layers.
Select both shapes and make it “Compound Path“. So that it became single layer and easy to cut again with single command.
Draw two lines.
“Object > Expend”
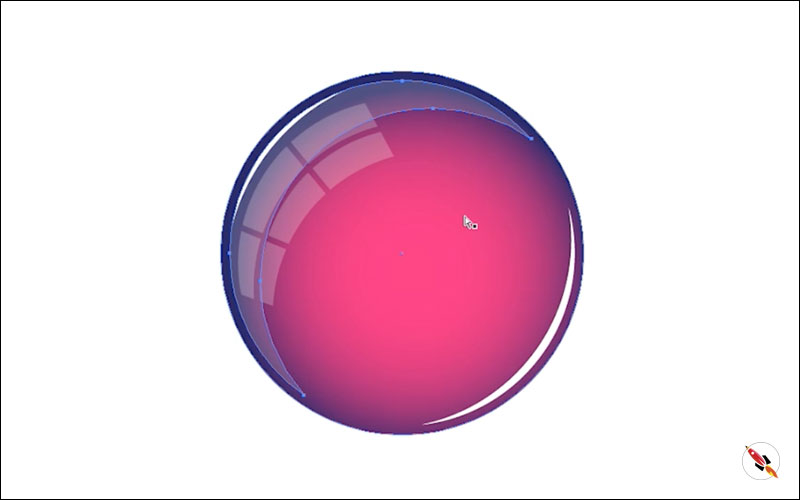
Select both shapes and use “Compound Path“, so that it became a single layer and easy to cut from below compound path layer.
Another option: We can also create a box above that, no fill only border, Expend it. With that we don’t need to use Compound Path.
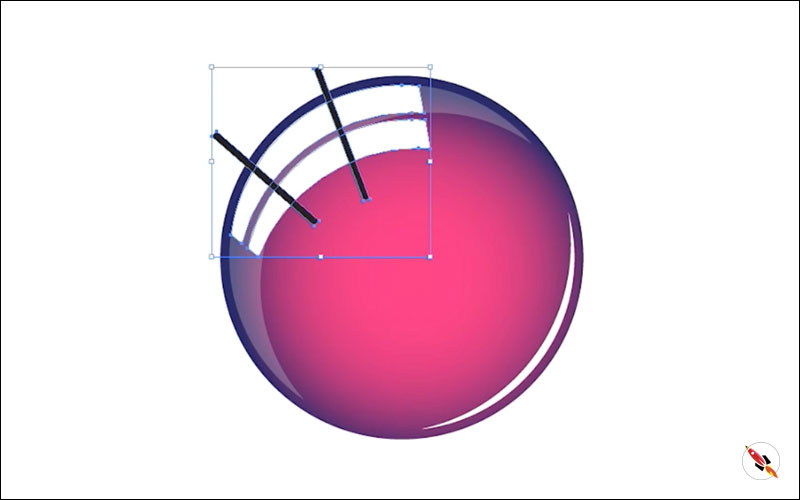
Decrease opacity. I make it approx 15%.
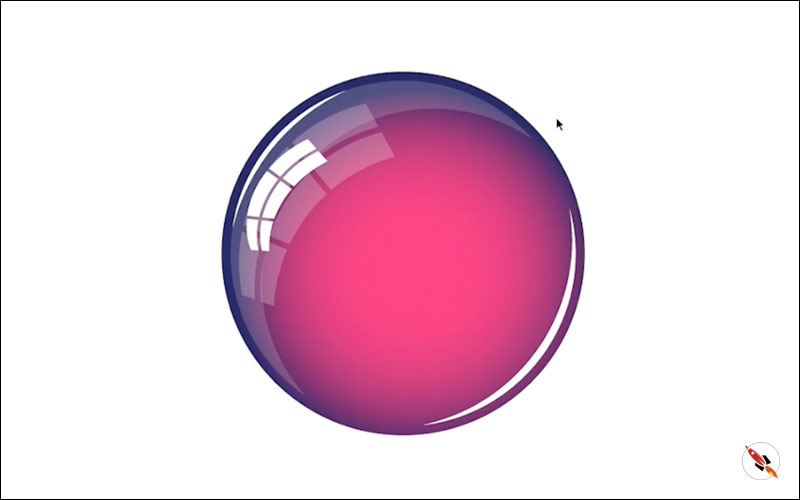
Highlighted Point 05:
Make another copy of this shape and place above it.
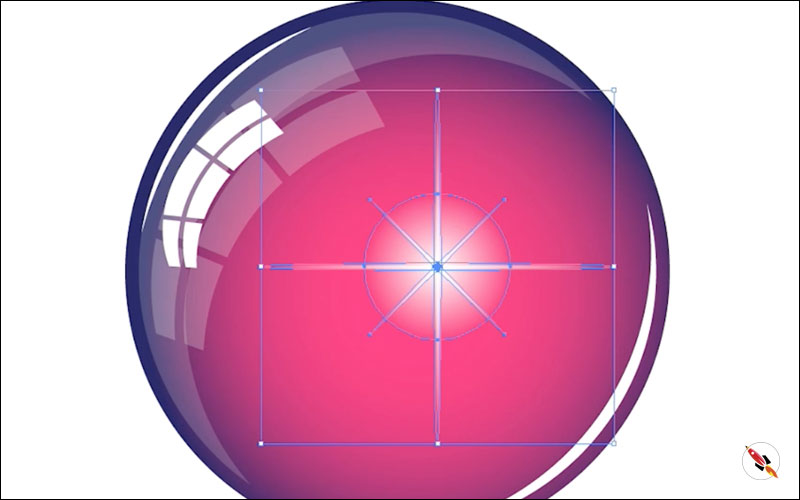
Star Shape:
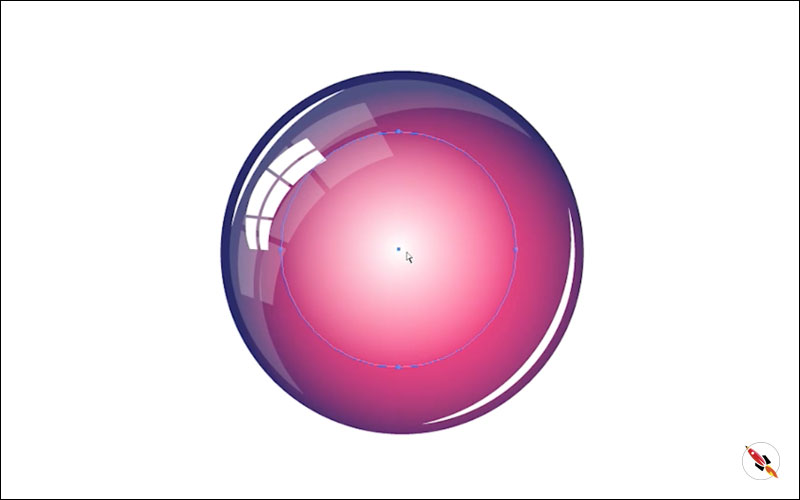
Make a circle.
Radial Gradient.
Apply white on both sides.
Outer side – Opacity 0%.
Transform it & make it as a thin line.

Make Another copy – Rotate 90°
Select both and Copy/Paste again. – Rotate it 45°. Transform & Decrease proportions.
A copy of gradient transparent circle, in the middle and small size, just as like in the given below image.
Group them all.
Place it on the different locations.
Highlighted Point 06:
– Copy/Paste that circle again.
– Paste twice
– Move upper-one only Left.
– Select both circle & minus front from “Pathfinder“.
Place a circle above that area and cut it again.
Decrease opacity. I make it 10% this time.

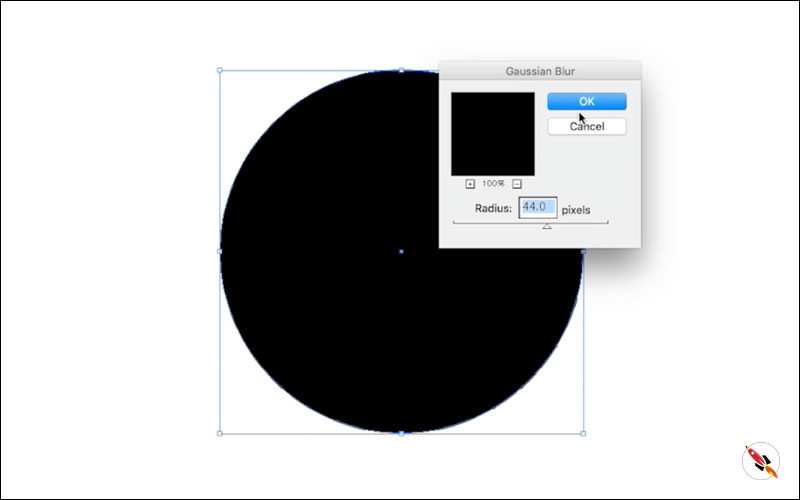
Shadow: Create a circle, or copy/paste the the main circle,
Color it black, Make Sure, its 100% Black.
R : 0
G : 0
B : 0
or
C : 100%
M :100%
R : 100%
K : 100%
> Use “Effect > Blur > Gaussian Blur”
> Reduce opacity,
Opacity will depends on the how dark you need shadow & Radius of blur depends how big shadow you need (Area of shadow).
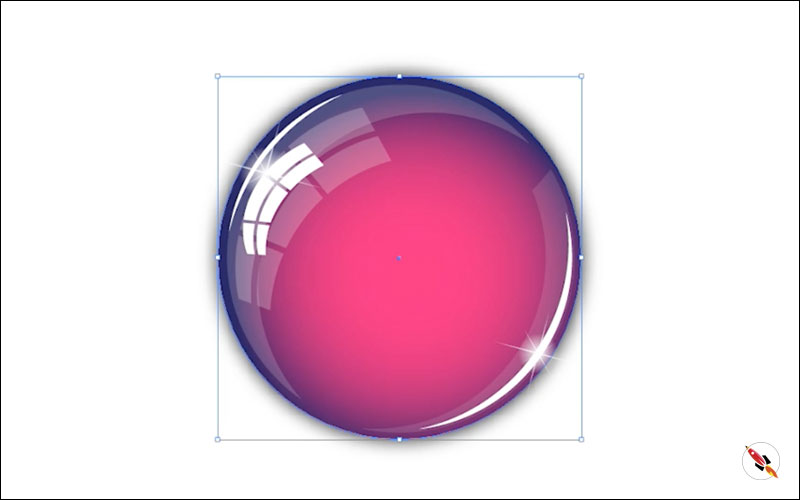
Move it back.
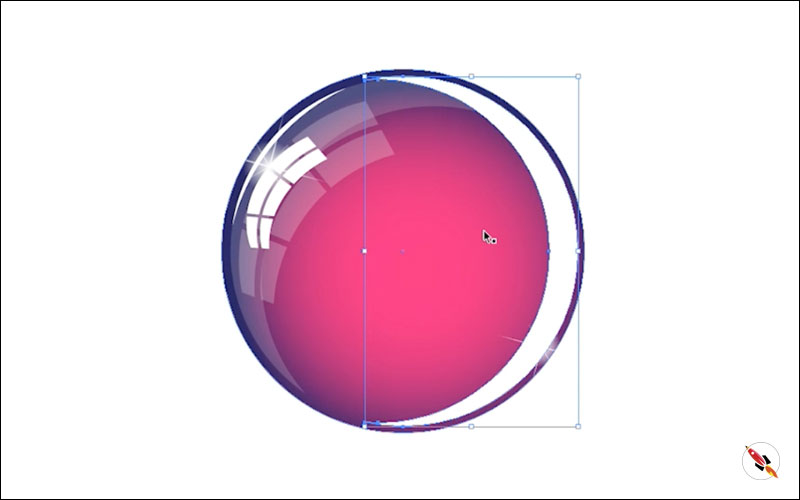
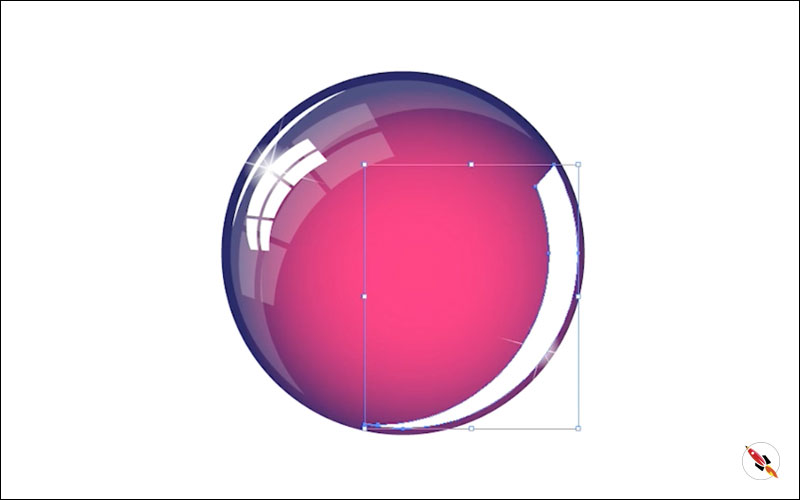
Highlighted Point 07:
– Copy/Paste circle again.
– Paste twice
– Upper-one slightly big.
– Move upper-one slightly down & Left.
– Select both circle & minus front from “Pathfinder“.

Decrease opacity. approx 50%.
There is an another method to make highlighted points, when we select both circles, then we use “Shape builder Tool” also. I use pathfinder, but you can use it also.
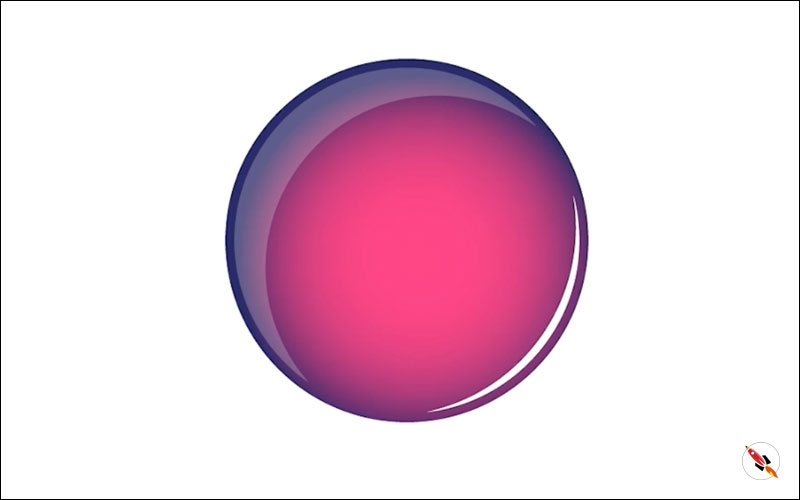
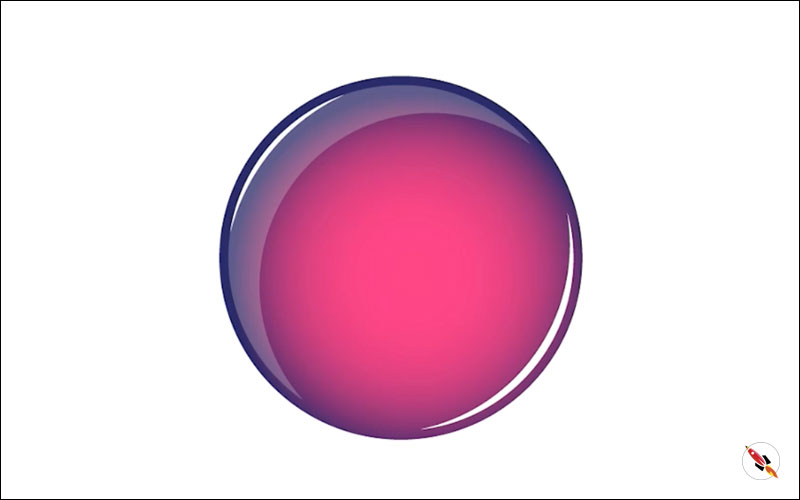
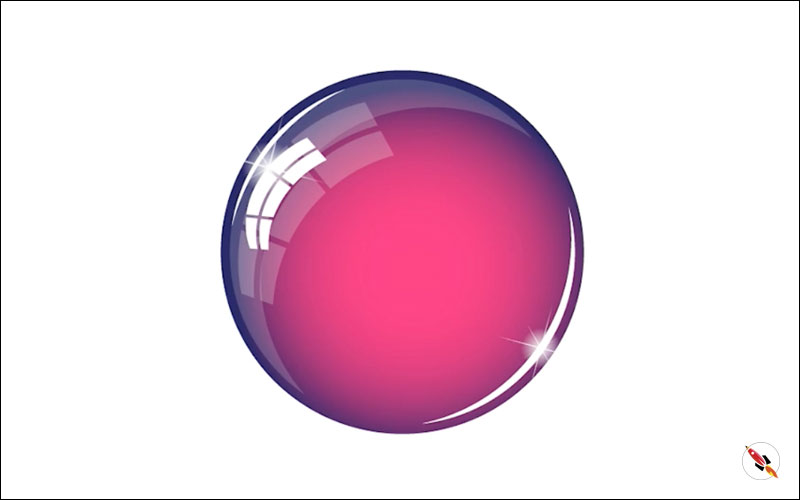
Congratulations You’re Done, It’s ready!

More color combination for 3d button.
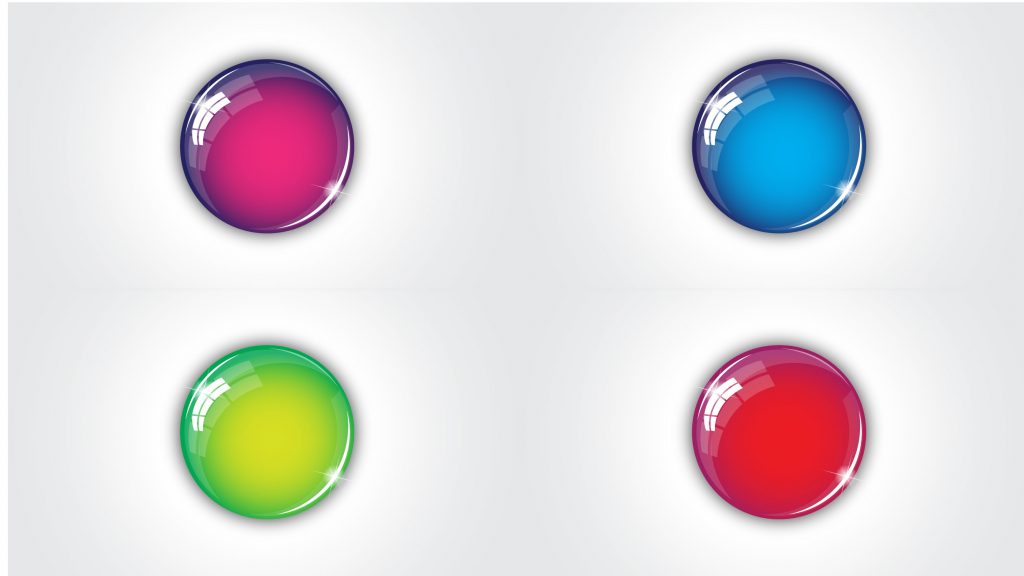
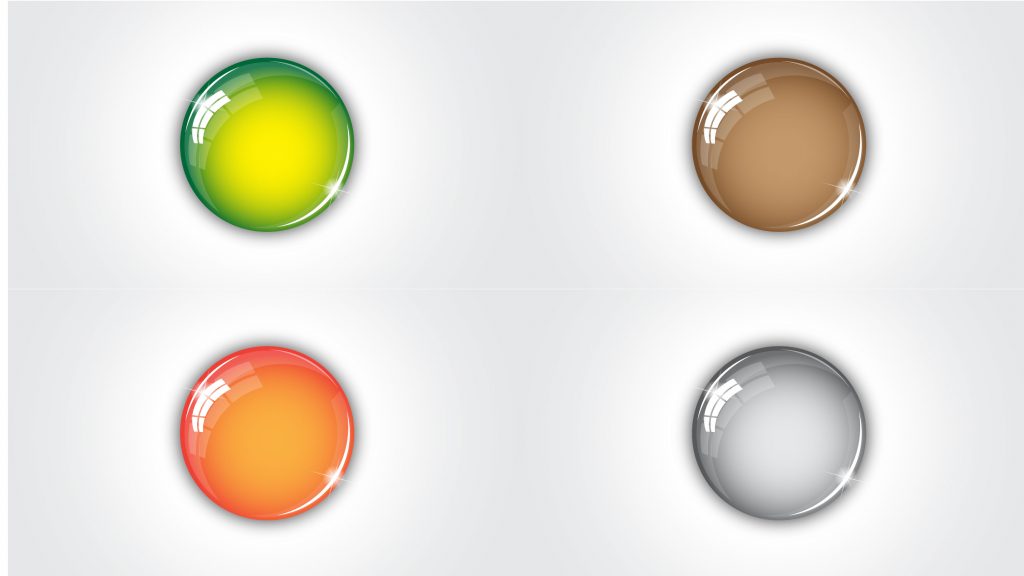
You can place social media icons on these 3d buttons and make your own combinations for your project.

Create Hexagon Background in Illustrator
Create Hexagon Background in Illustrator Create Hexagon Background in Illustrator This tutorial about to create Hexagon Background in adobe illustrator Illustrator. It's a repetitive process of hexagon shape and
Arabic Seamless pattern in adobe illustrator
Arabic Seamless pattern in adobe illustrator Arabic Seamless pattern in adobe illustrator Create Arabic Seamless pattern in adobe illustrator. With some easy steps, you can create this kind of
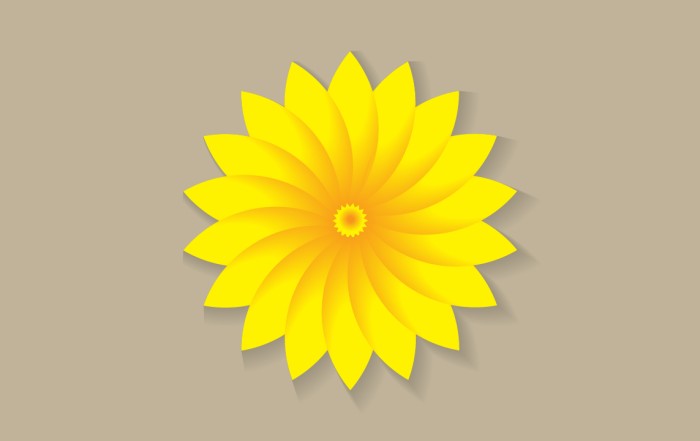
Multiply shape through rotation tool & create flower in adobe illustrator
Multiply shape through rotation tool & create flower in adobe illustrator (Creating Shapes – Part 15) Multiply shape through rotation tool & create flower in adobe illustrator (Creating Shapes – Part 15)
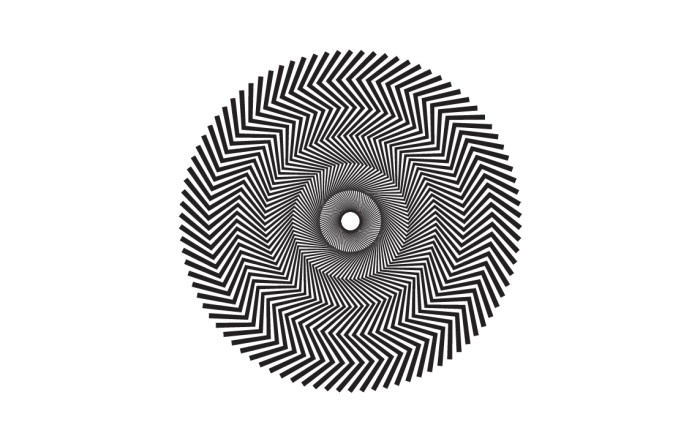
Create Zig Zag Symbol within a minute
Create Zig Zag Symbol within a minute | Illustrator for beginners (Creating Shapes – Part 14) Create Zig Zag Symbol within a minute | Illustrator for beginners (Creating Shapes – Part 14)
Create Yin Yang Symbol within a minute
Create Yin Yang Symbol (Creating Shapes – Part 13) Create Yin Yang Symbol (Creating Shapes – Part 13) A one minute tutorial, about to create Yin Yang Symbol in
Watch this tutorial on Youtube
https://youtu.be/qgXFfTNaxgU
☆☆☆ SUBSCRIBE to our youtube channel for more Videos Tutorials:
http://bit.ly/2Nmn2Dn
☆☆☆ WATCH more Videos and FREE Tutorials:
http://bit.ly/2IXX4Sk
Tutorial Playlists {Youtube}
Adobe Illustrator: http://bit.ly/2XlYP4I
Adobe Photoshop: http://bit.ly/2xo0bfu
Subscribe, Follow & Connect with us on:
Facebook: https://www.facebook.com/deeptuts/
Instagram: https://www.instagram.com/deeptuts/
Pinterest: https://in.pinterest.com/deeptuts/
Youtube: http://bit.ly/2IXX4Sk
Twitter: https://twitter.com/Deep_Tuts