Create Geometric Hexagon Background in Adobe Illustrator with 2 different methods
Create Geometric Hexagon Background in Adobe Illustrator with 2 different methods
In this video you will learn to create Geometric Hexagon Background in Adobe Illustrator with two different methods, I am using this hexagon shape as i use it in my previous tutorial. In this tutorial, i make a color palette, & fill every single color of gradient in each layer. In another method i place different color in the shade, and place a layer above that, fill gradient or solid color, now i am easily change color of this shape easily.
There are few more color samples at the end of this tutorial.
Steps to Create Geometric Hexagon Background
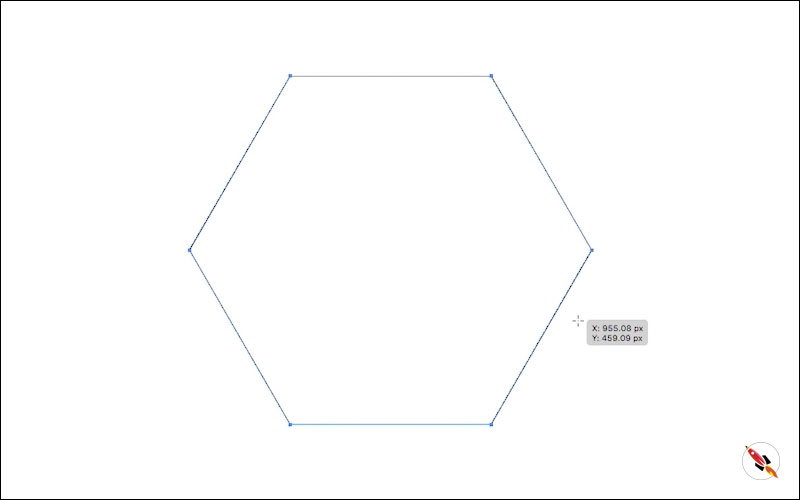
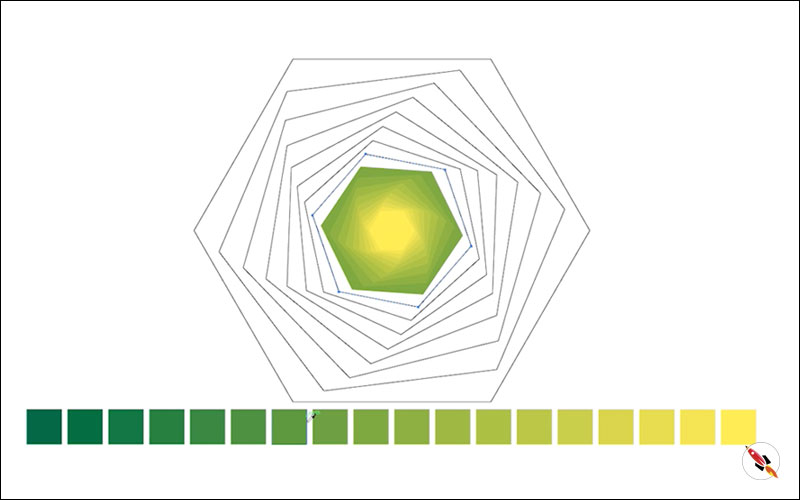
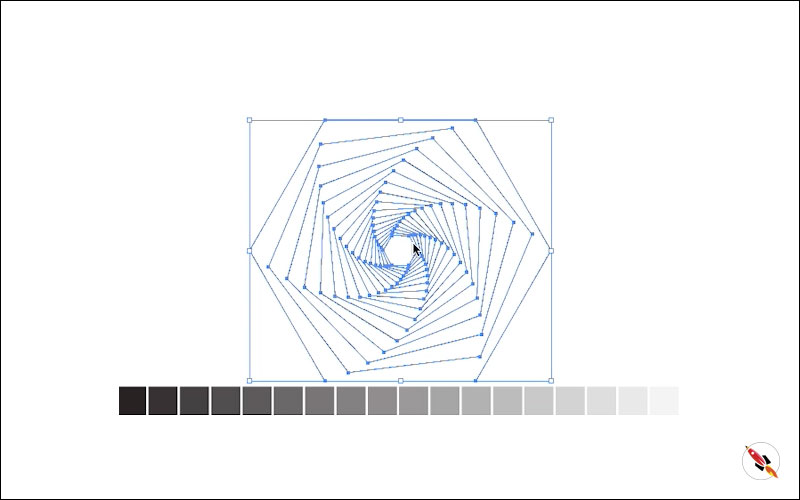
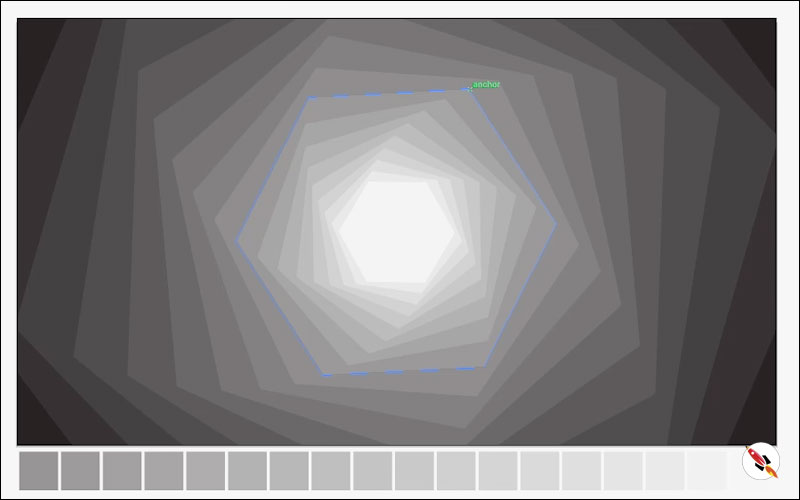
Make a Hexagon shape, only border, no fill color.
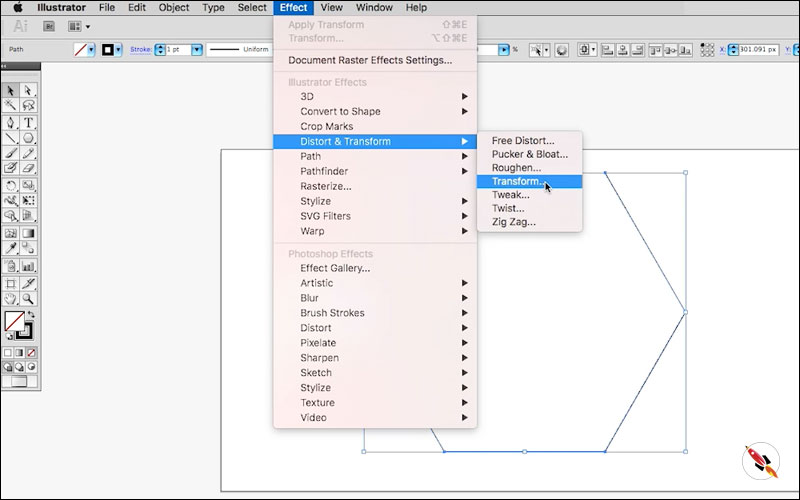
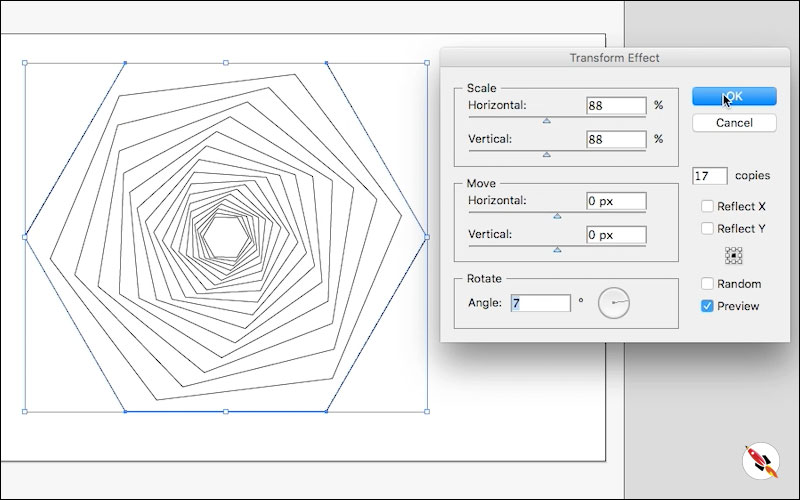
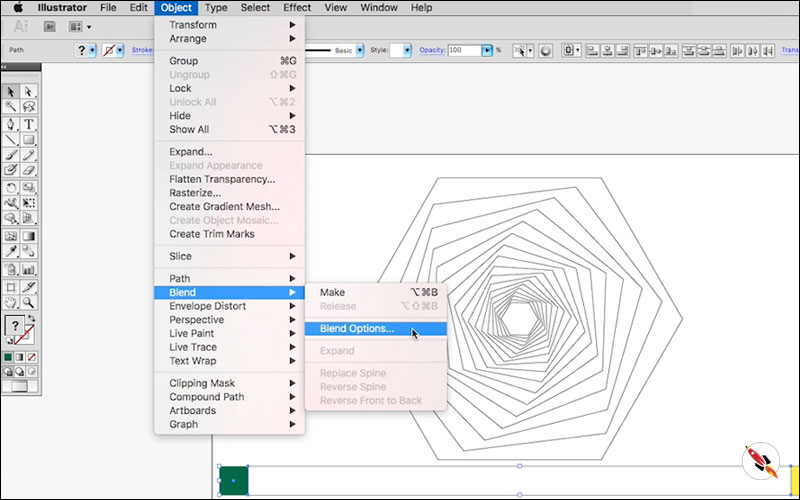
Apply “Effect > Disort & Transform > Transform”
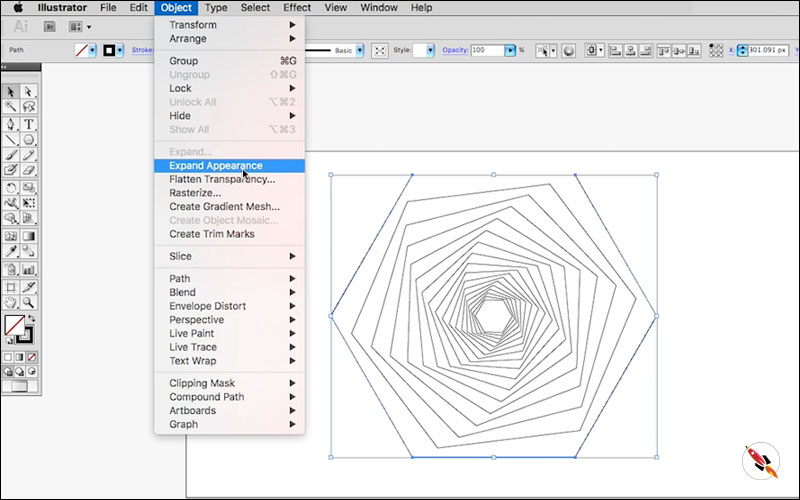
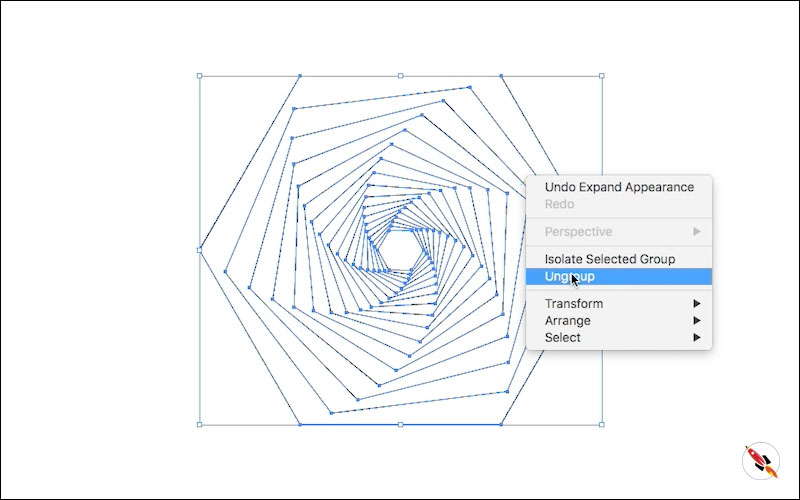
Select object & “Object > Expend Appearance”
and then again “Object > Expend”
Right click on object “Ungroup it“.
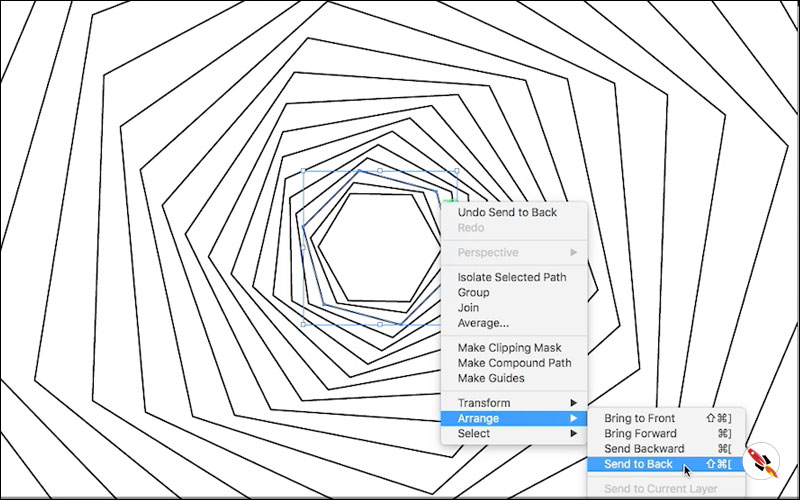
Rearrange it – smallest one at top and rest on their back.
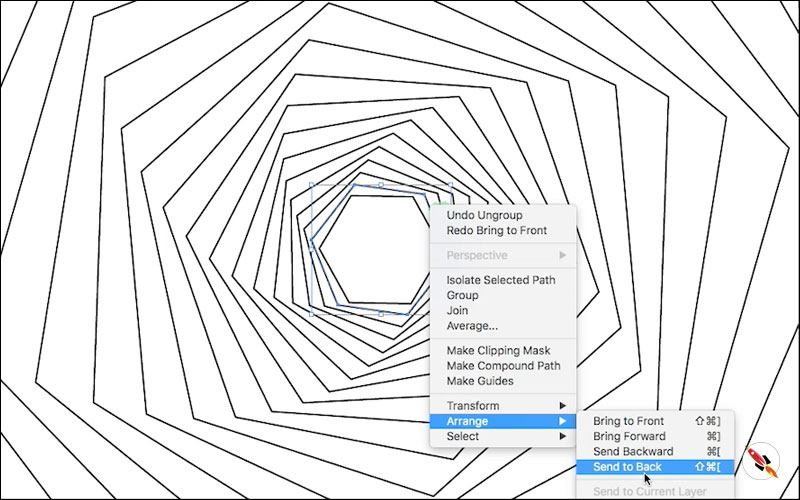
Select each hexagon shape one by one and move it back. We start it from smallest one, so that makes, move every next layer back to that, bigger one at the absolute back.
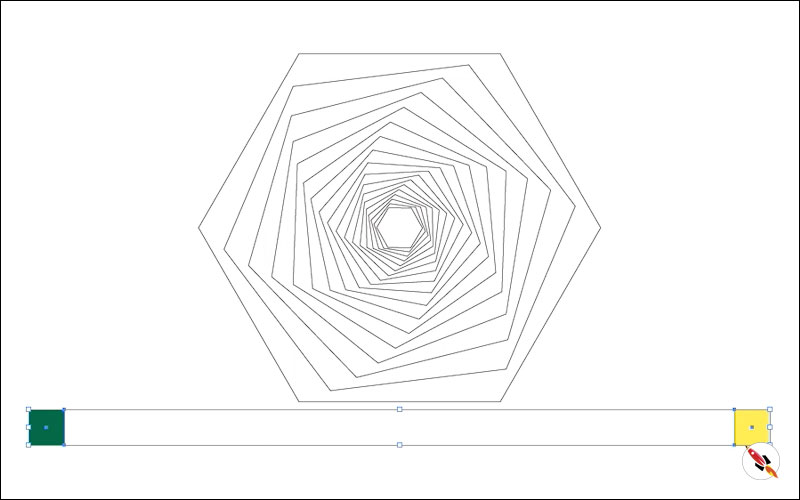
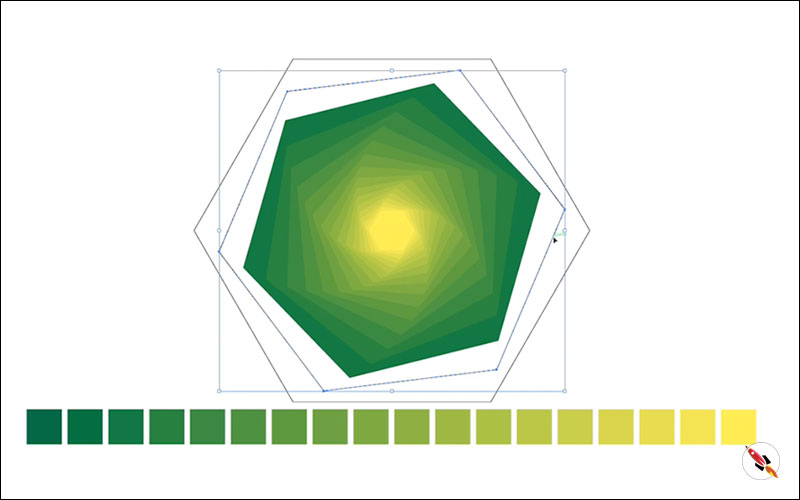
Make one more copy of shape for further use. This shape we will use to create background with another methods.
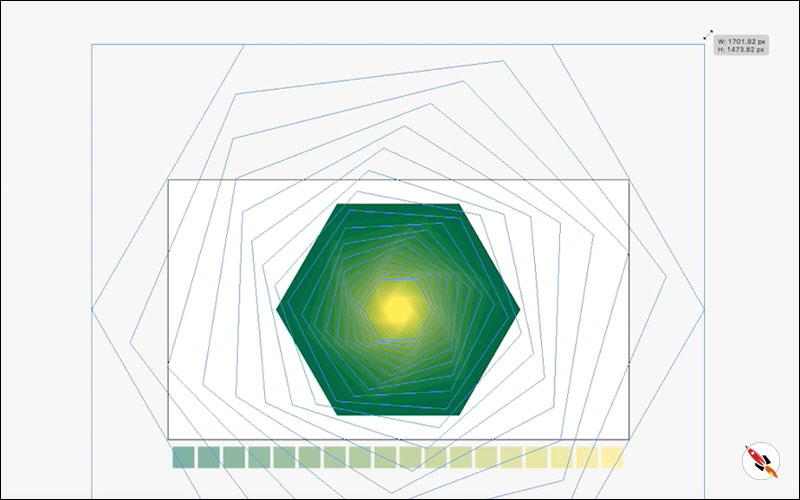
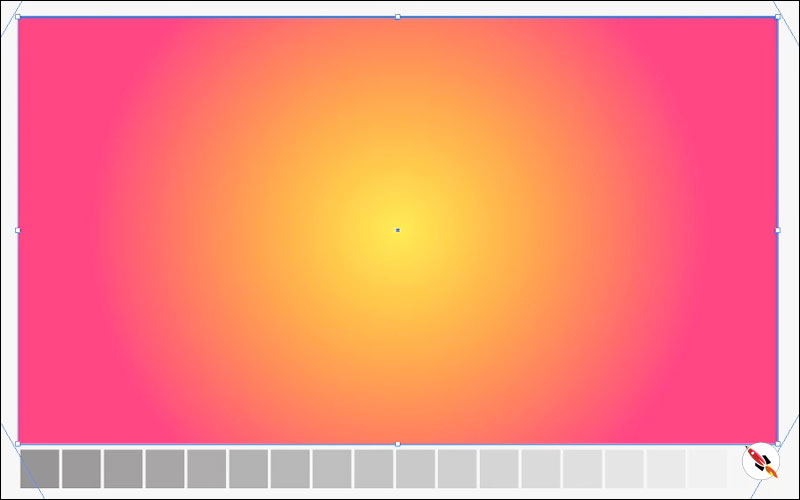
Now create a color palette.
Make 2 boxes, fill different color & apply “Object > Blend > Blend Options” Specified Steps
I make it 16 steps. You can increase or decrease no. of steps according to the complex design you need.
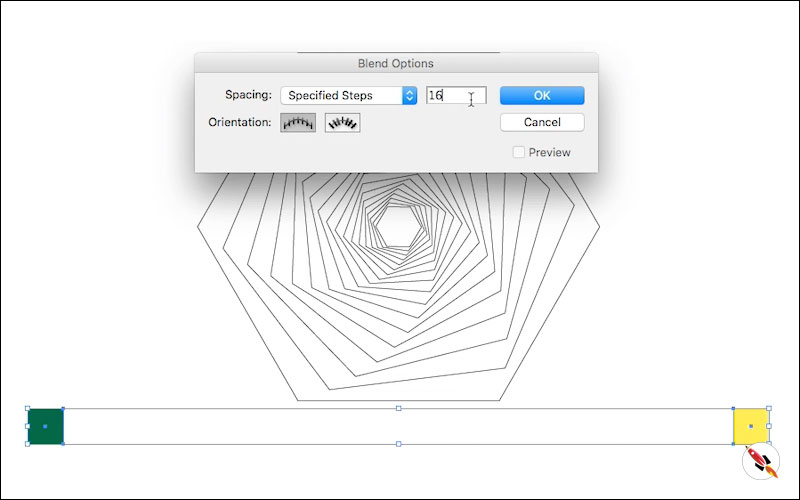
Apply “Make” & Use Blend option again to adjust no. of boxes. (In the case you need to increase or decrease no. of boxes)

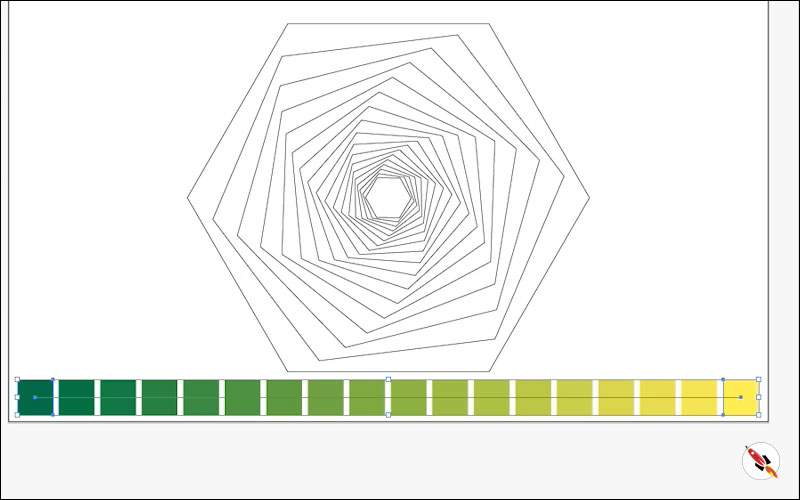
I start from very upper layer & apply, light to dark shade one by one. Light shade apply to smallest one and dark one at bigger one, os its move and apply light to dark.
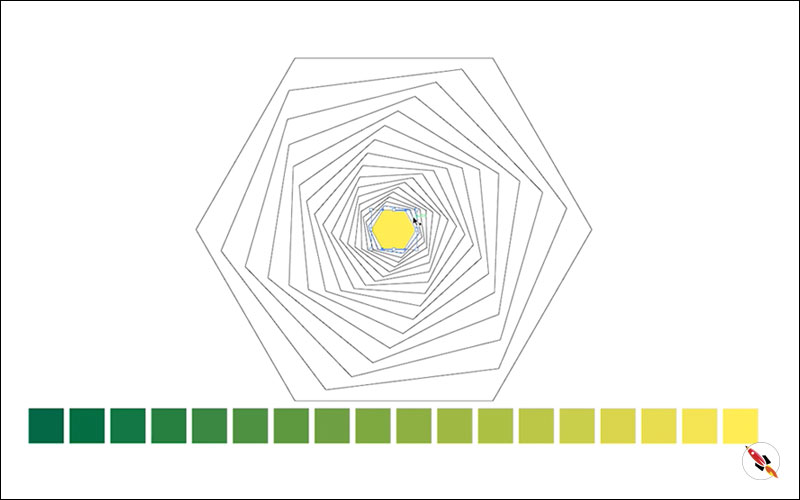

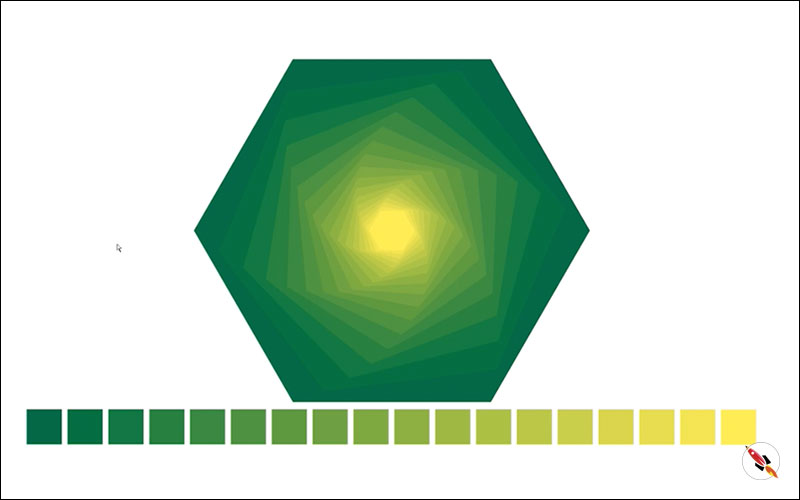
Make a document size box and mask it.
Go inside that box, select hexagon shape and resize it, so that it covers the document.
First method to create geometric hexagon background is complete.
Another method for Hexagon background
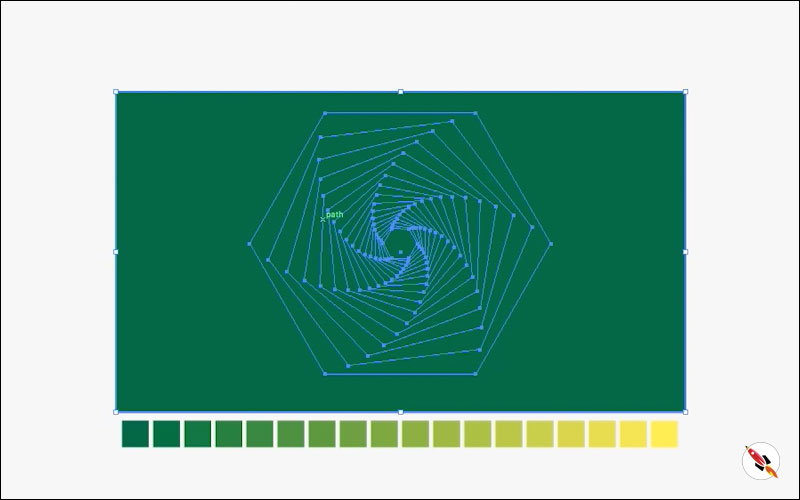
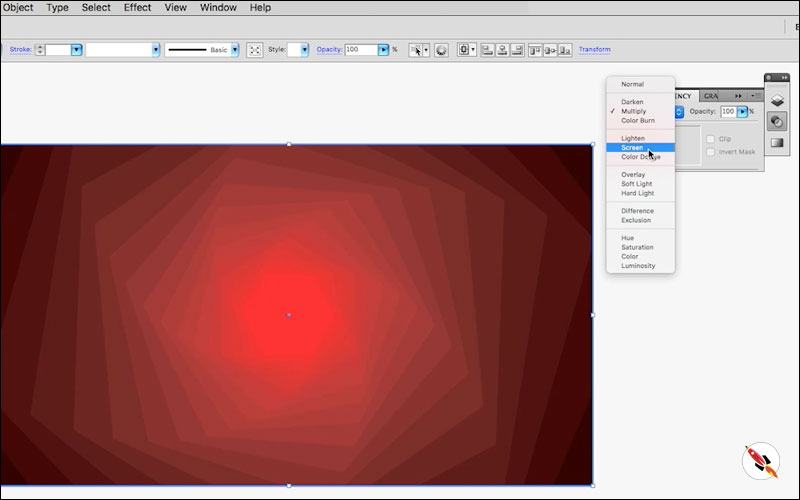
Make a black & white color palette, apply it with the same method, light to dark.
Apply the color shade with same process, as we apply earlier.
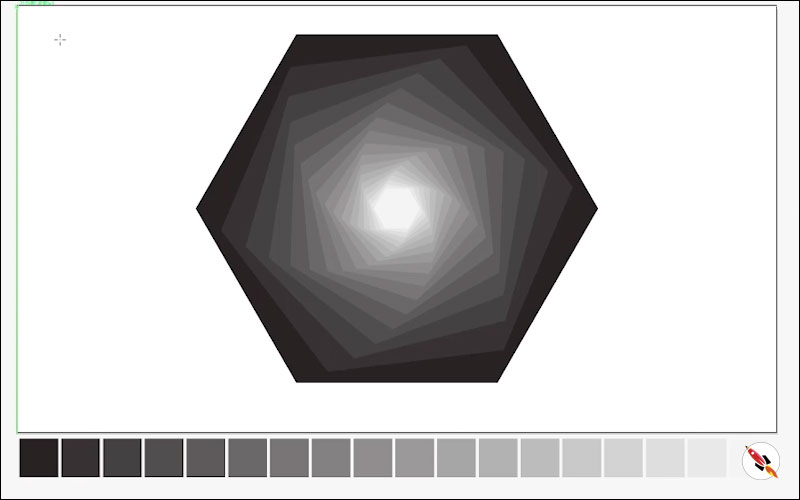
Mask it also.
Make a Gradient box above that shape and apply transparency.
Change transparency, i try every kind of transparency style, Multiply & Hard Light is better, you can also try other transparency style according to your choice etc.
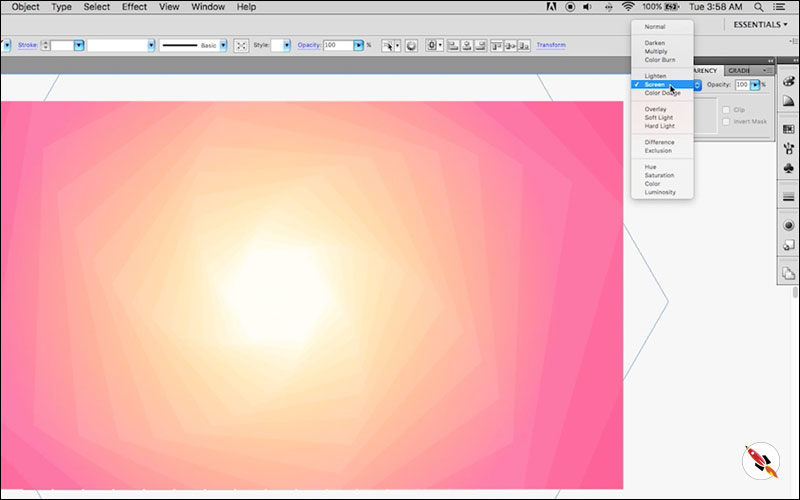
Use solid color box & apply transparency (as you need) and change color.

Change colors and you can create various and creative geometric hexagon backgrounds.
Congratulations, You’re ready.
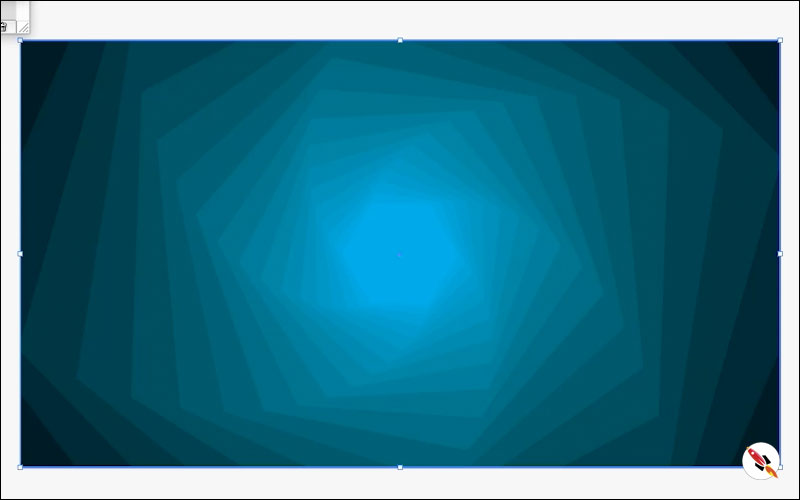
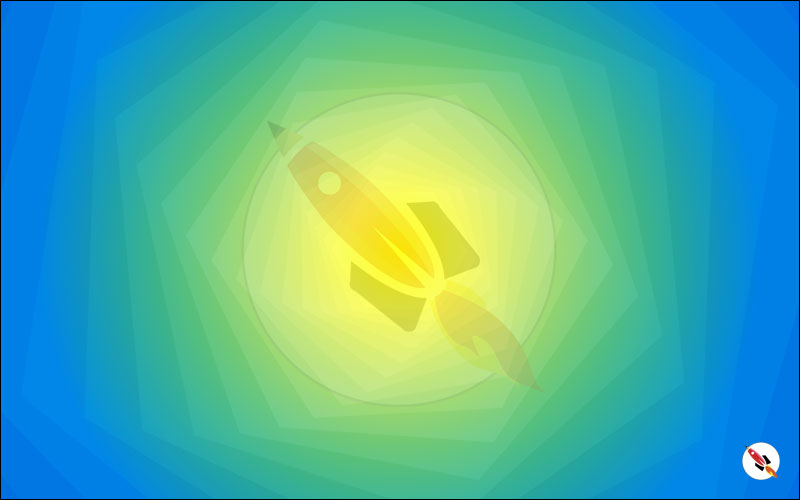
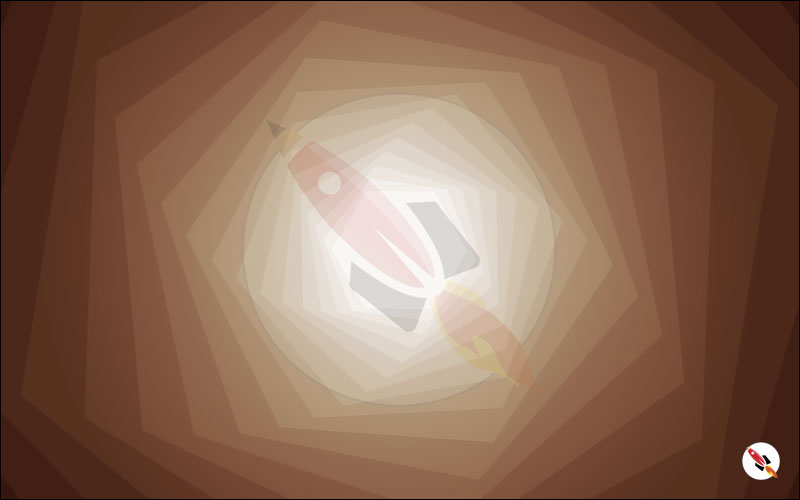
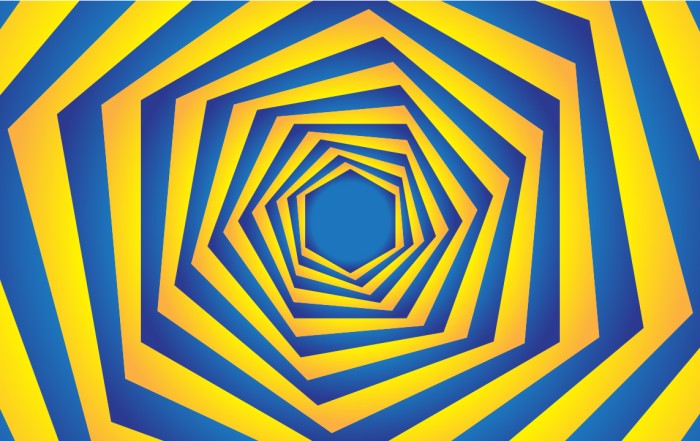
Some examples of color combination of
Geometric hexagon background


Its ready, Thanks
Create Hexagon Background in Illustrator
Create Hexagon Background in Illustrator Create Hexagon Background in Illustrator This tutorial about to create Hexagon Background in adobe illustrator Illustrator. It's a repetitive process of hexagon shape and
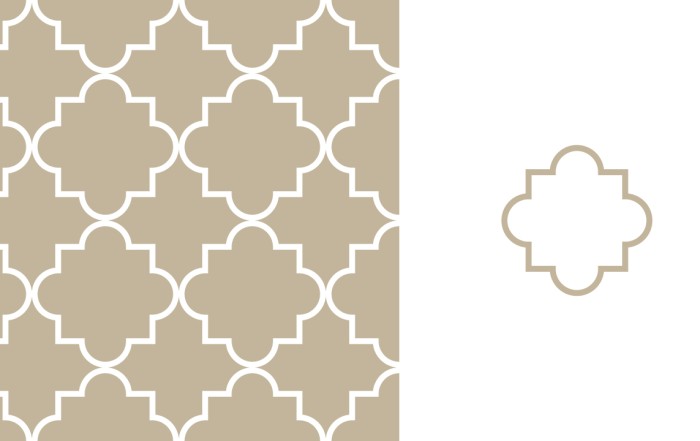
Arabic Seamless pattern in adobe illustrator
Arabic Seamless pattern in adobe illustrator Arabic Seamless pattern in adobe illustrator Create Arabic Seamless pattern in adobe illustrator. With some easy steps, you can create this kind of
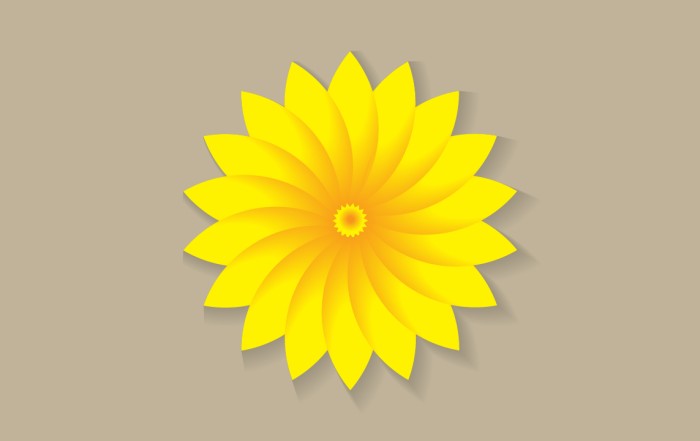
Multiply shape through rotation tool & create flower in adobe illustrator
Multiply shape through rotation tool & create flower in adobe illustrator (Creating Shapes – Part 15) Multiply shape through rotation tool & create flower in adobe illustrator (Creating Shapes – Part 15)
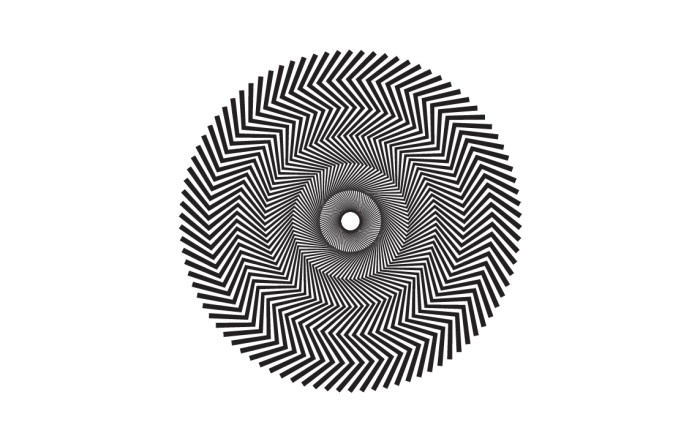
Create Zig Zag Symbol within a minute
Create Zig Zag Symbol within a minute | Illustrator for beginners (Creating Shapes – Part 14) Create Zig Zag Symbol within a minute | Illustrator for beginners (Creating Shapes – Part 14)
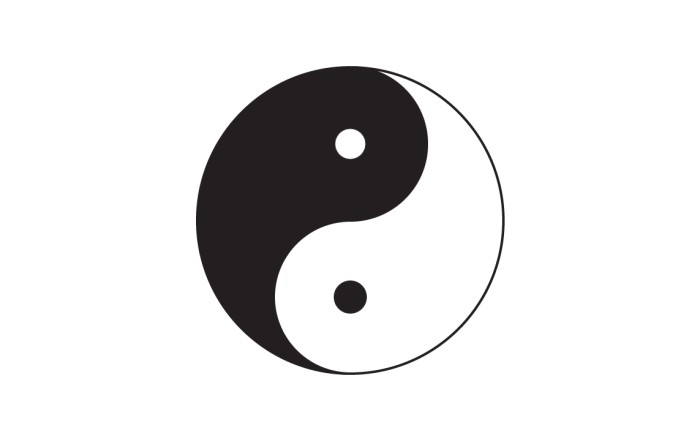
Create Yin Yang Symbol within a minute
Create Yin Yang Symbol (Creating Shapes – Part 13) Create Yin Yang Symbol (Creating Shapes – Part 13) A one minute tutorial, about to create Yin Yang Symbol in
Some other tutorials of pattern making & background designs:
Create Hexagon Background in Illustrator
Beautiful Landscape Vector Illustration – (Landscape Part 2)
Create Geometric Hexagon Background in Adobe Illustrator with 2 different methods
How to Create a Geometric Background in Adobe Illustrator with Polygon tool
How to Create Geometrical Background in adobe illustrator.
How to create mountains background in adobe illustrator.
How to create sunburst effect background in illustrator within a minute
How to create paper cut out effect in Adobe Illustrator
How to create line waves pattern in adobe illustrator
How to create Seamless Pattern in illustrator & make your Pattern Library for future use.
How to create a pyramid pattern in Adobe Illustrator
How to create colorful gradient waves in Adobe Illustrator
How to draw a dotted halftone pattern in Adobe Illustrator
How to Design a Geometrical Isometric Cube Pattern in Adobe Illustrator
Watch this tutorial on Youtube
https://youtu.be/6VmfG-cDl7M
☆☆☆ SUBSCRIBE to our youtube channel for more Videos Tutorials:
http://bit.ly/2Nmn2Dn
☆☆☆ WATCH more Videos and FREE Tutorials:
http://bit.ly/2IXX4Sk
Tutorial Playlists {Youtube}
Adobe Illustrator: http://bit.ly/2XlYP4I
Adobe Photoshop: http://bit.ly/2xo0bfu
Subscribe, Follow & Connect with us on:
Facebook: https://www.facebook.com/deeptuts/
Instagram: https://www.instagram.com/deeptuts/
Pinterest: https://in.pinterest.com/deeptuts/
Youtube: http://bit.ly/2IXX4Sk
Twitter: https://twitter.com/Deep_Tuts