How to Create Geometrical Background in adobe illustrator.
How to Create Geometrical Background in adobe illustrator.
Through using Gradient background, transparent gradient and few line (rectangle boxes) you can create geometrical background. You can add more shapes also, like dotted boxes and triangles. Adding balanced object will give you a good background. I make few more backgrounds with same pattern and color changed, check below.
Steps to create Geometrical Background
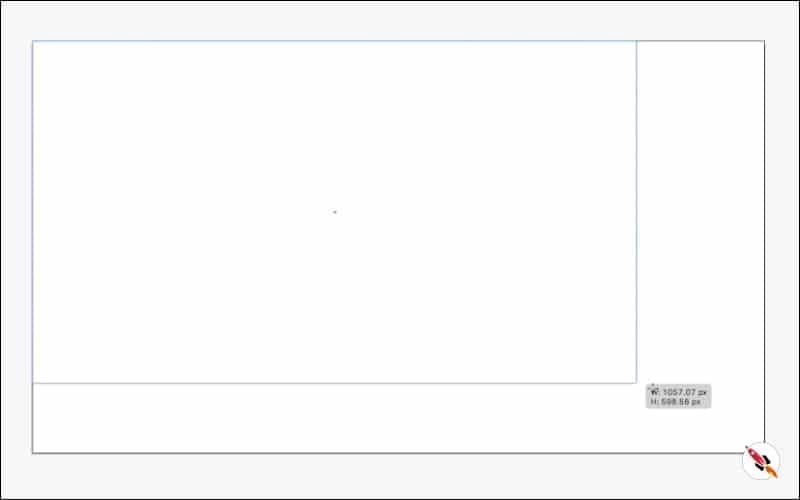
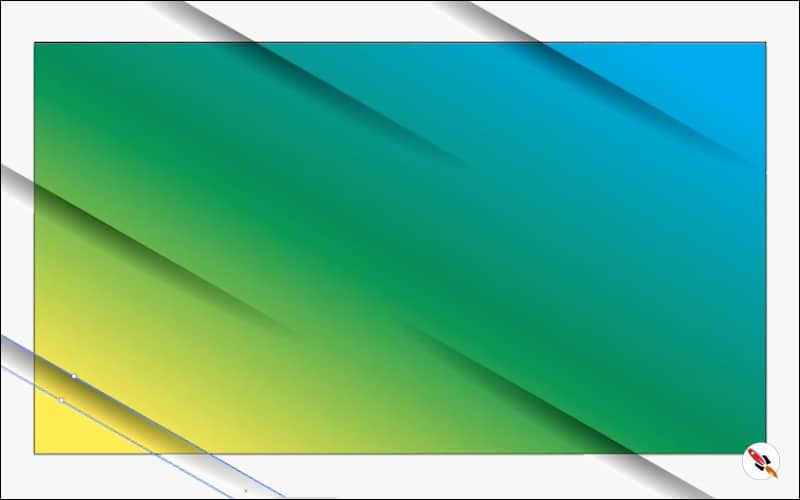
Step 01 – Create a new file with “RGB color mode“, make a rectangle for gradient background.
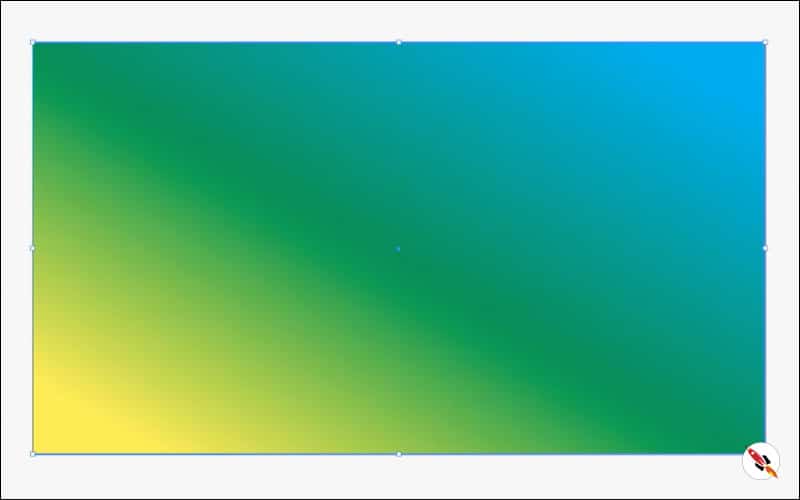
Fill gradient in background, you can choose color as per your choice, i create two more color options, which display at the end of the page.
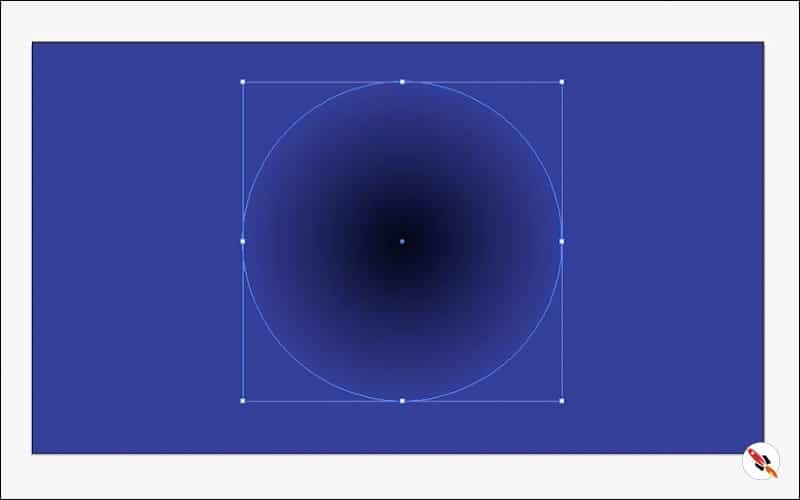
Step 02 – Make a circle, fill gradient and make outer-side opacity 0% and Change shape.
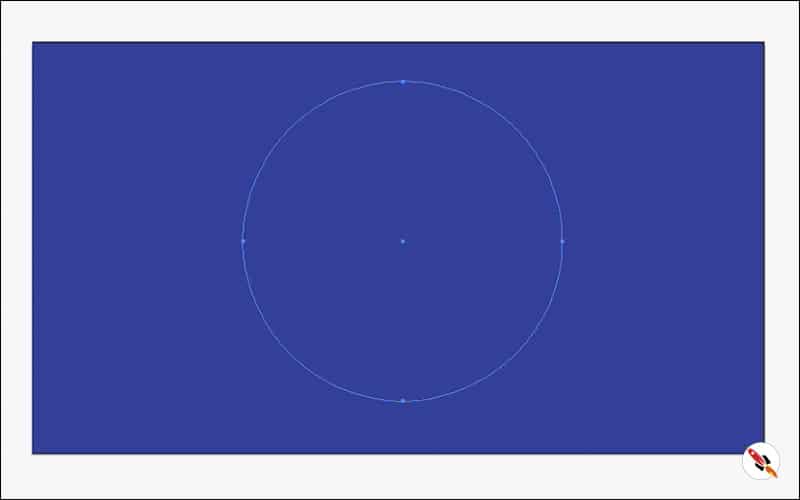
Fill Gradient
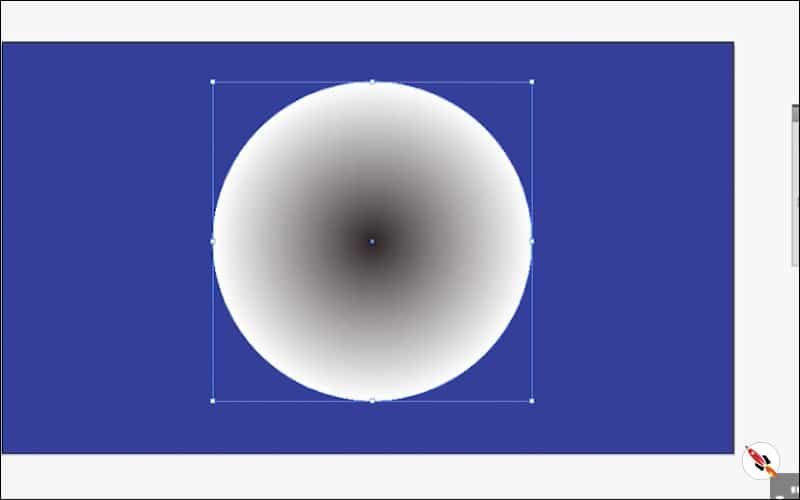
Outer part transparent, also apply “Transparency Multiply“.
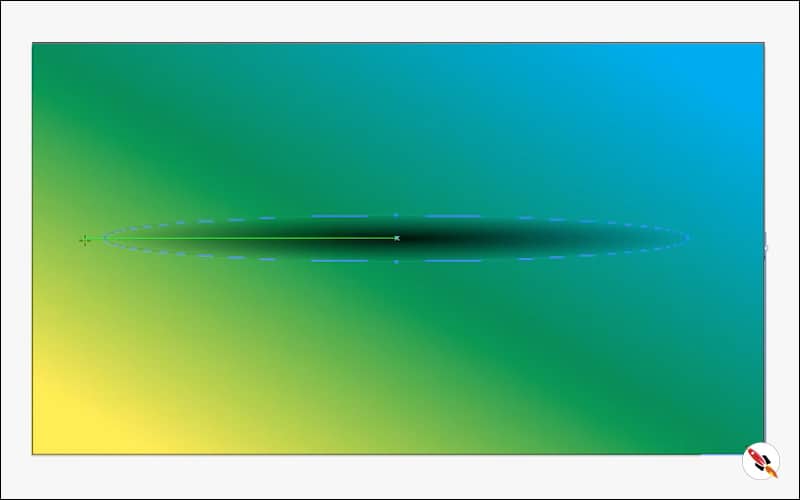
Step 03 – Decrease height of the shadow
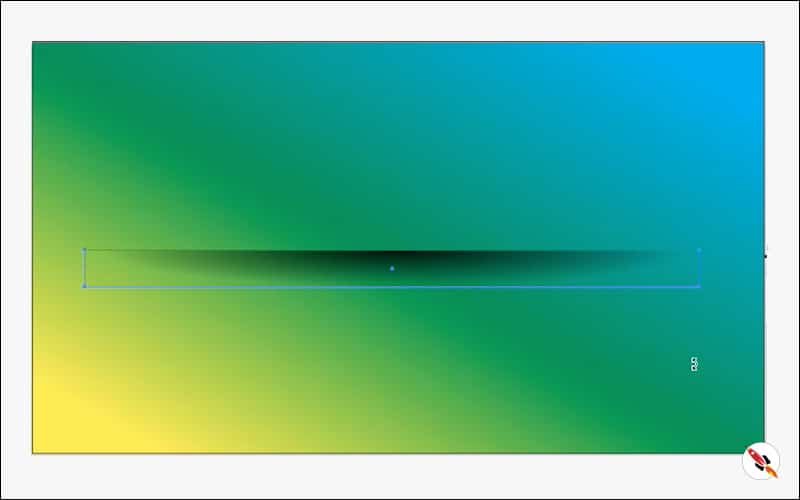
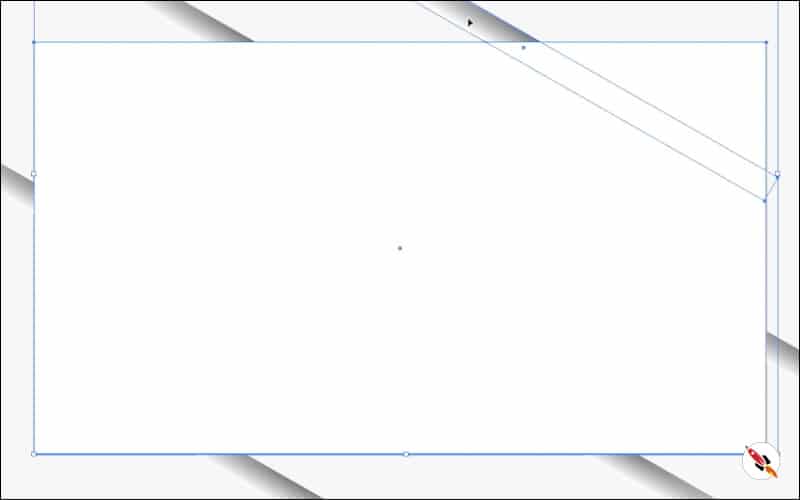
Mask it: Create a rectangle above that cover only half lower part to mask it. “Object – Clipping Mask – Make“.
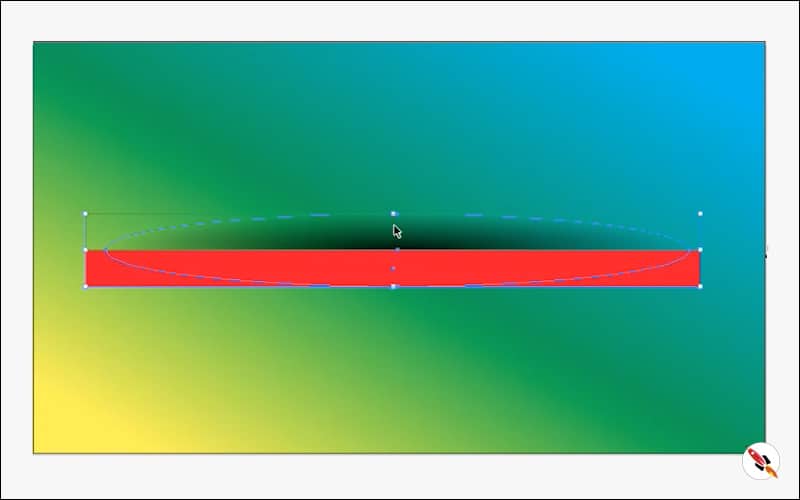
It’s view something like this.
Step 04 – Slightly rotate it, make more copies and place it on different part of creative. After that make a rectangle according to the document size and mask all layers. This is the first effect of our geometrical background
Mask it also.
Step 05 – Create a gradient rectangular shape, one side transparent. Next step is to create highlighted bars which i make through another rectangle box, fill gradient downside yellow bright color and upside transparent gradient,
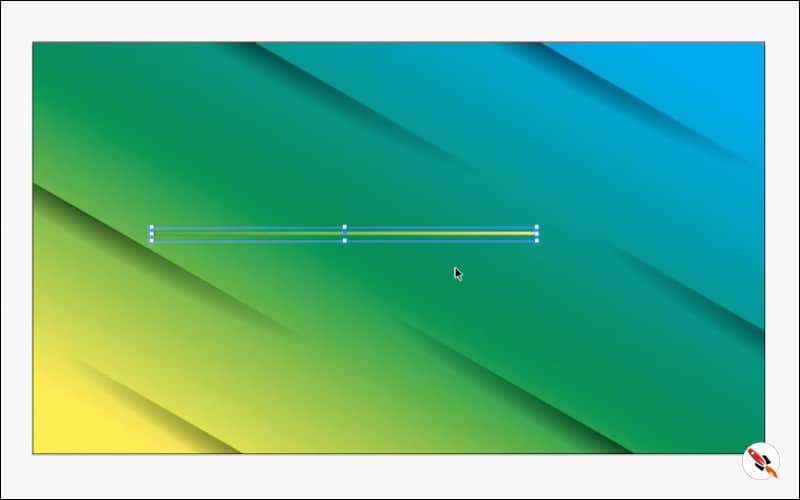
Copy and place it multiple times in different parts. which reflect some lights moving to down from top. This is the second effect of geometrical background
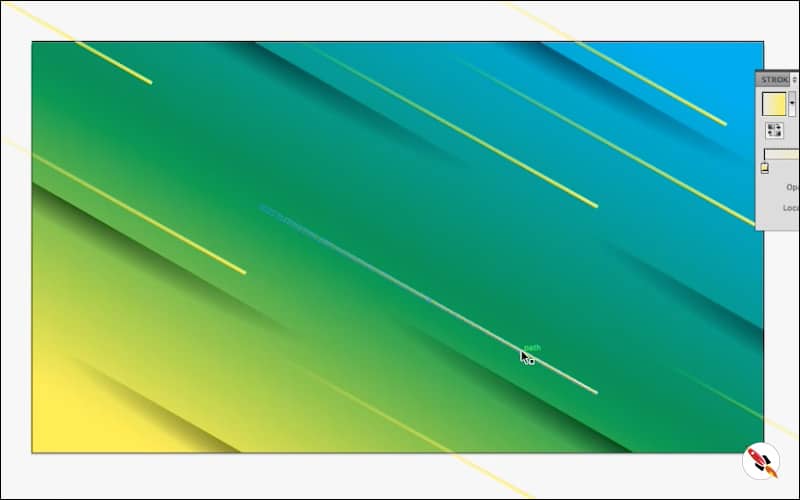
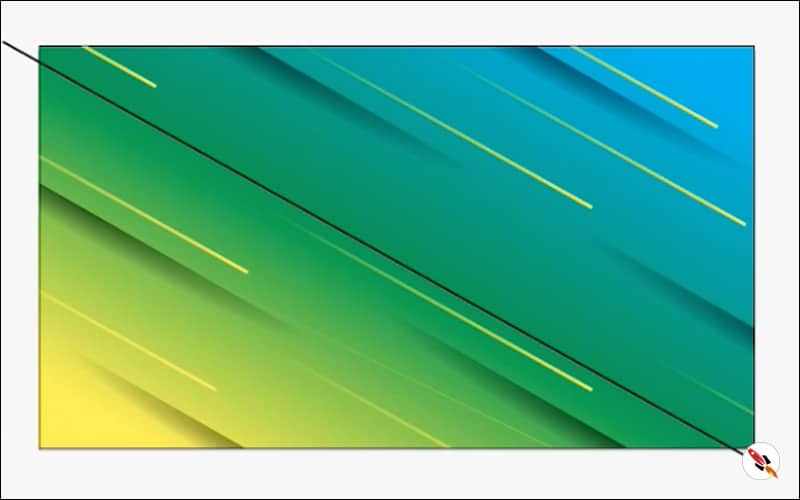
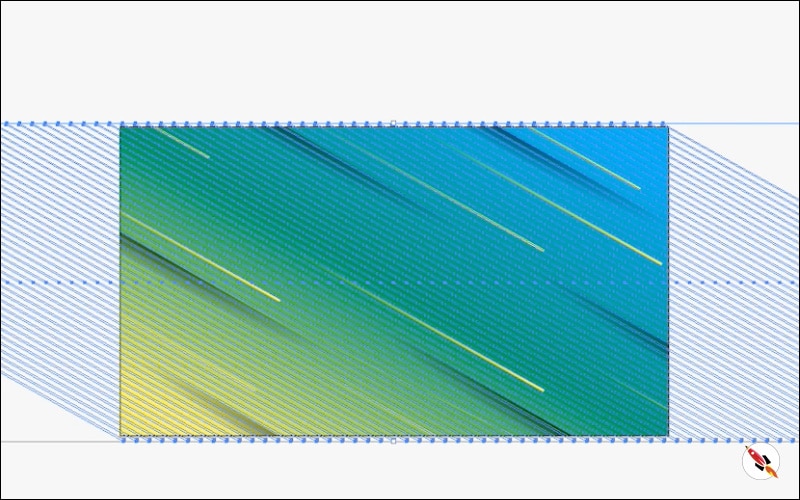
Step 06 – Next step is to create sequence bars in background, which fill with gradient color. make a very thin rectangular shape and expend it according to the height of document, which covors full page, to make multiple copies of it i use, “Effect – Distort & transform – Transform“.
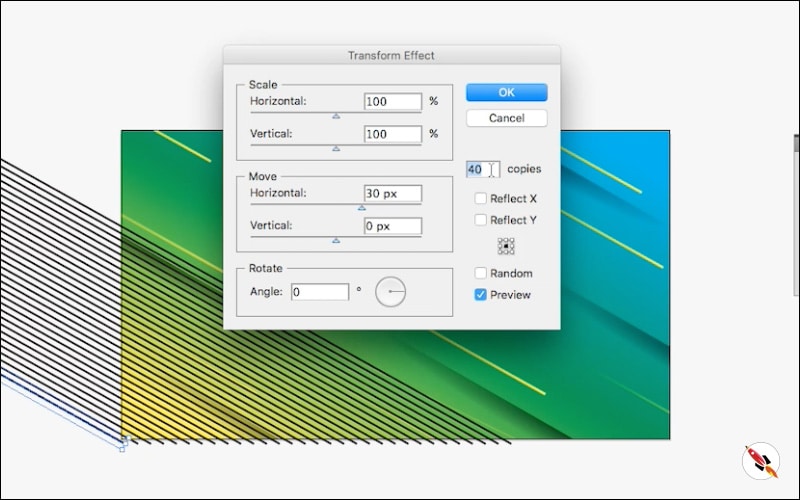
Place it at absolute outside the document and apply “Effect > Distort & Transform > Transform“. Now you can make multiple copies of that line. Horizontal distance i give 30, you can change it also.
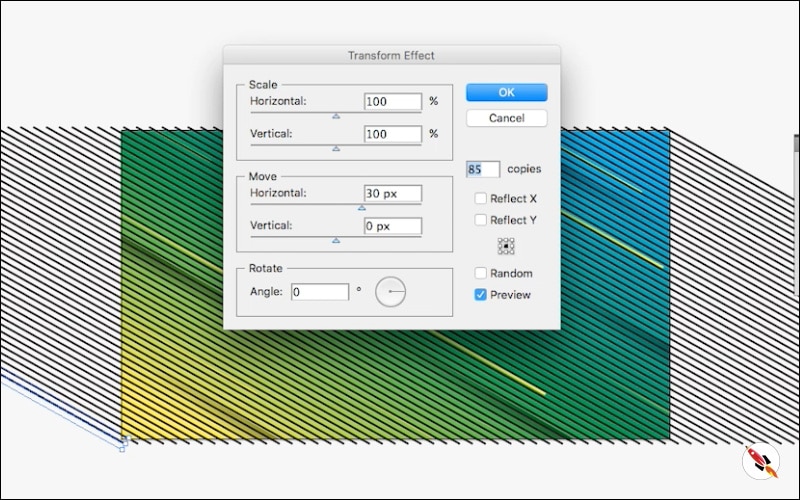
Cover it something like this.
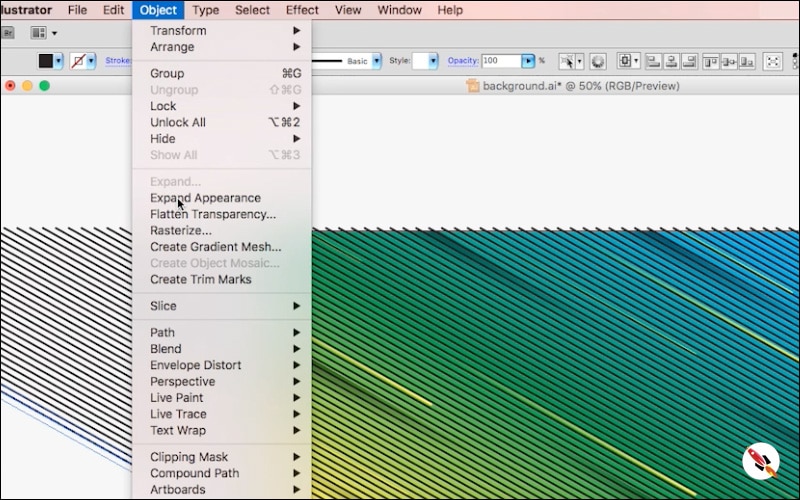
“Object > Expend Appearance“, this will expend whole graphic, now you can click each line and edit if you want.
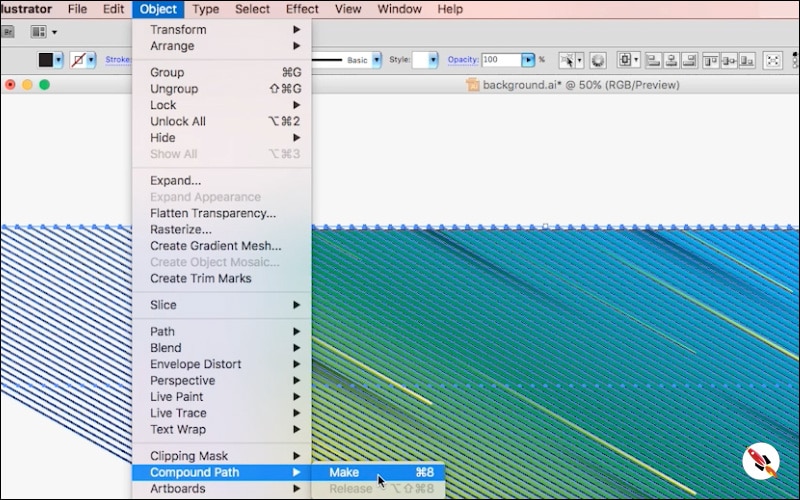
Now it’s time to convert all of these line into a single graphic, “Object > Compound Path > Make“.
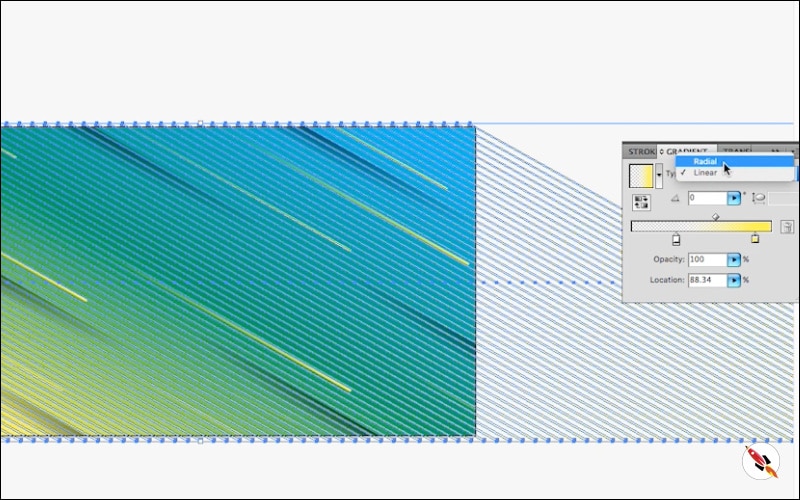
Step 06 – Now Fill gradient, gradient fill and treat it as a single object.
Mask it also. This is the third effect of geometrical background, we can add more also.
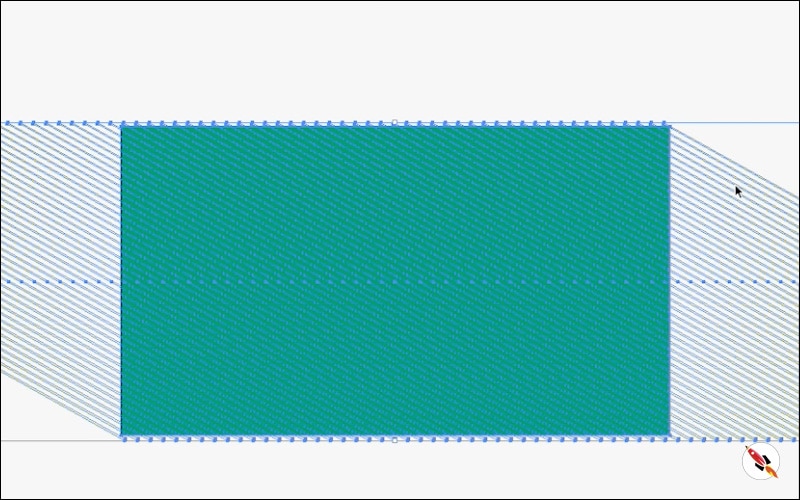
That was the last step to create a geometrical background and this is the final output. Some other samples given below.


Thank You.
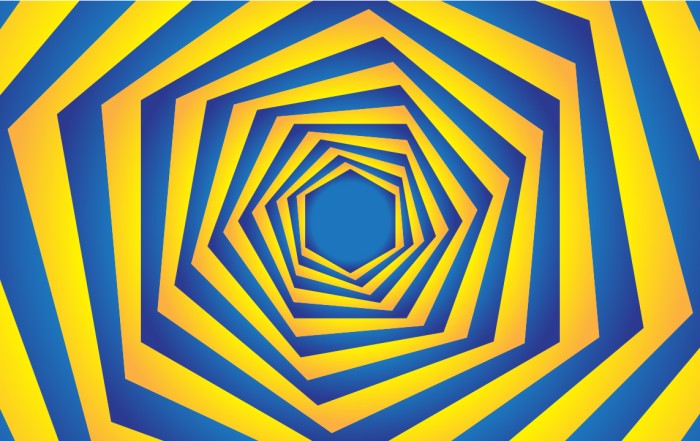
Create Hexagon Background in Illustrator
Create Hexagon Background in Illustrator Create Hexagon Background in Illustrator This tutorial about to create Hexagon Background in adobe illustrator Illustrator. It's a repetitive process of hexagon shape and
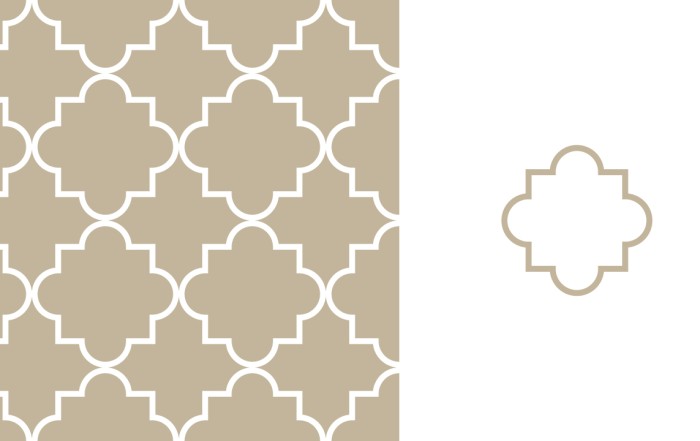
Arabic Seamless pattern in adobe illustrator
Arabic Seamless pattern in adobe illustrator Arabic Seamless pattern in adobe illustrator Create Arabic Seamless pattern in adobe illustrator. With some easy steps, you can create this kind of

Multiply shape through rotation tool & create flower in adobe illustrator
Multiply shape through rotation tool & create flower in adobe illustrator (Creating Shapes – Part 15) Multiply shape through rotation tool & create flower in adobe illustrator (Creating Shapes – Part 15)
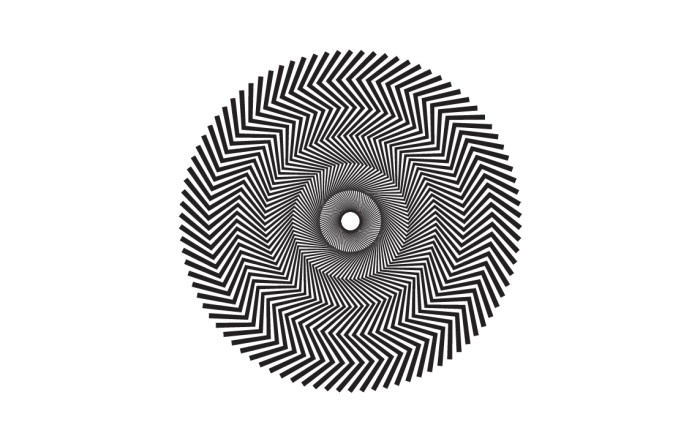
Create Zig Zag Symbol within a minute
Create Zig Zag Symbol within a minute | Illustrator for beginners (Creating Shapes – Part 14) Create Zig Zag Symbol within a minute | Illustrator for beginners (Creating Shapes – Part 14)
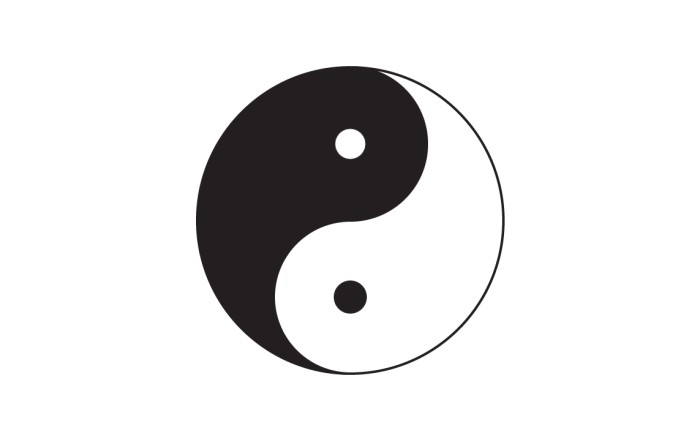
Create Yin Yang Symbol within a minute
Create Yin Yang Symbol (Creating Shapes – Part 13) Create Yin Yang Symbol (Creating Shapes – Part 13) A one minute tutorial, about to create Yin Yang Symbol in
Some other tutorials of pattern making & background designs:
Create Hexagon Background in Illustrator
Beautiful Landscape Vector Illustration – (Landscape Part 2)
Create Geometric Hexagon Background in Adobe Illustrator with 2 different methods
How to Create a Geometric Background in Adobe Illustrator with Polygon tool
How to Create Geometrical Background in adobe illustrator.
How to create mountains background in adobe illustrator.
How to create sunburst effect background in illustrator within a minute
How to create paper cut out effect in Adobe Illustrator
How to create line waves pattern in adobe illustrator
How to create Seamless Pattern in illustrator & make your Pattern Library for future use.
How to create a pyramid pattern in Adobe Illustrator
How to create colorful gradient waves in Adobe Illustrator
How to draw a dotted halftone pattern in Adobe Illustrator
How to Design a Geometrical Isometric Cube Pattern in Adobe Illustrator
Watch this tutorial on Youtube
https://youtu.be/lmhlQA5pdrc
☆☆☆ SUBSCRIBE to our youtube channel for more Videos Tutorials:
http://bit.ly/2Nmn2Dn
☆☆☆ WATCH more Videos and FREE Tutorials:
http://bit.ly/2IXX4Sk
Tutorial Playlists {Youtube}
Adobe Illustrator: http://bit.ly/2XlYP4I
Adobe Photoshop: http://bit.ly/2xo0bfu
Subscribe, Follow & Connect with us on:
Facebook: https://www.facebook.com/deeptuts/
Instagram: https://www.instagram.com/deeptuts/
Pinterest: https://in.pinterest.com/deeptuts/
Youtube: http://bit.ly/2IXX4Sk
Twitter: https://twitter.com/Deep_Tuts