Text effect tutorial (Adobe illustrator) (Text Effect 6)
Text effect tutorial (Adobe illustrator) (Text Effect 6)
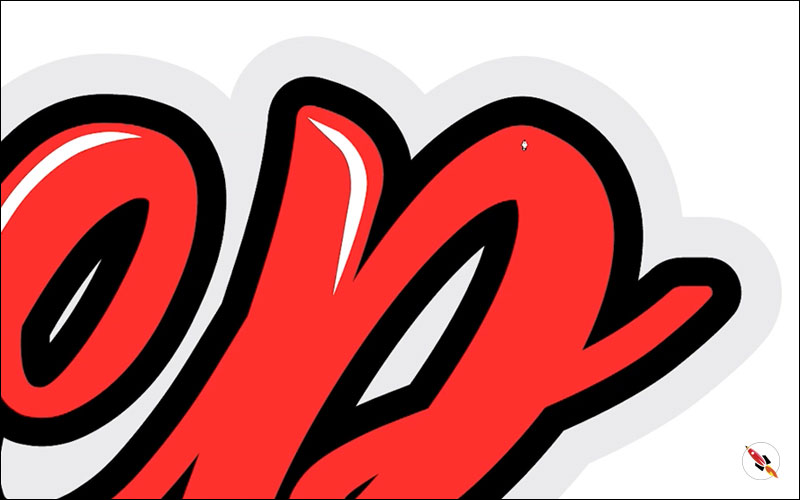
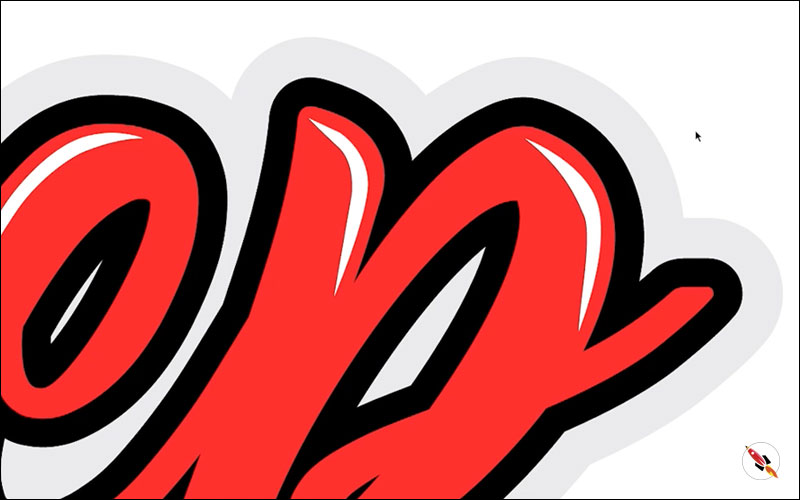
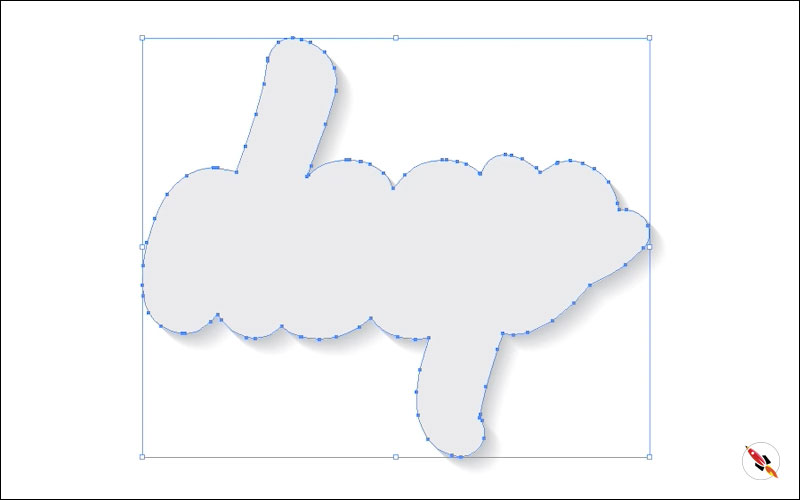
This is an another tutorial of creating effect with text in Adobe Illustrator, which we can use it as a logo or title etc. There are 5 layers in this text effect, Gradient text, 2 text outer border layers (black & grey), shadow, and 2 more layers, one in white for shining part and other in black gives it smooth curve kind of effect on text.
Steps to create “Text Effect”
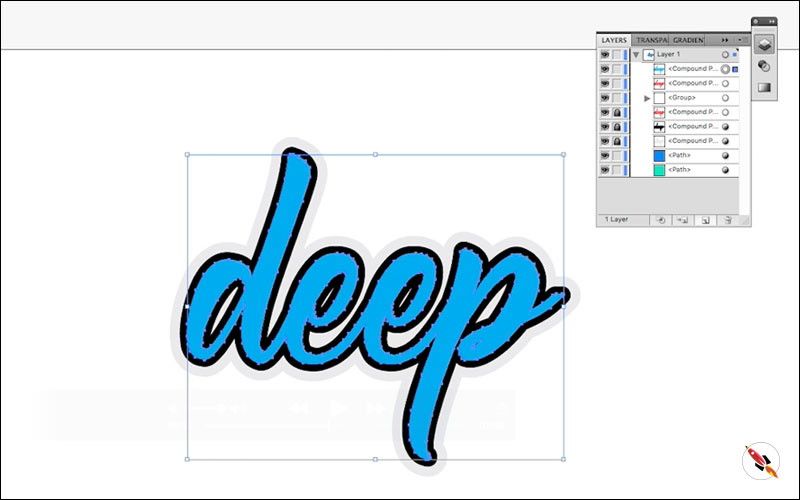
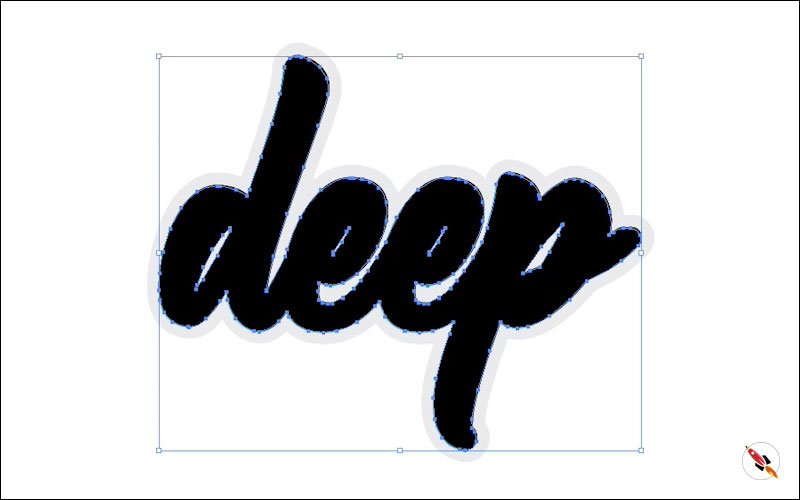
Type your text, i use “Congratulation folding” this time.
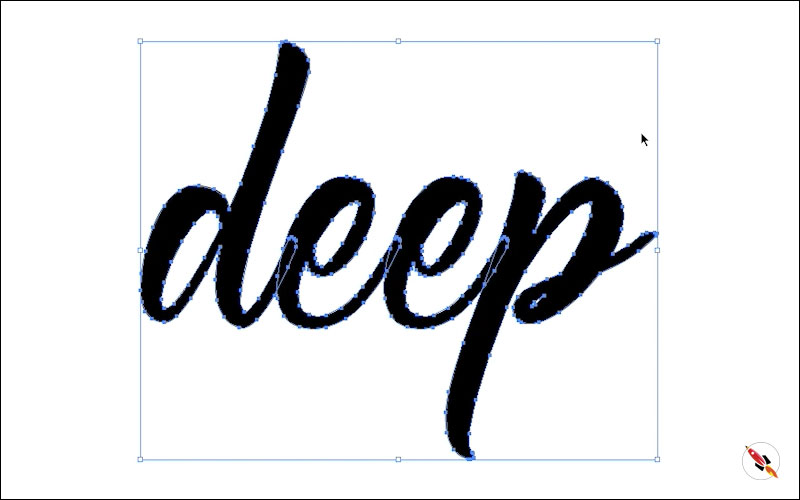
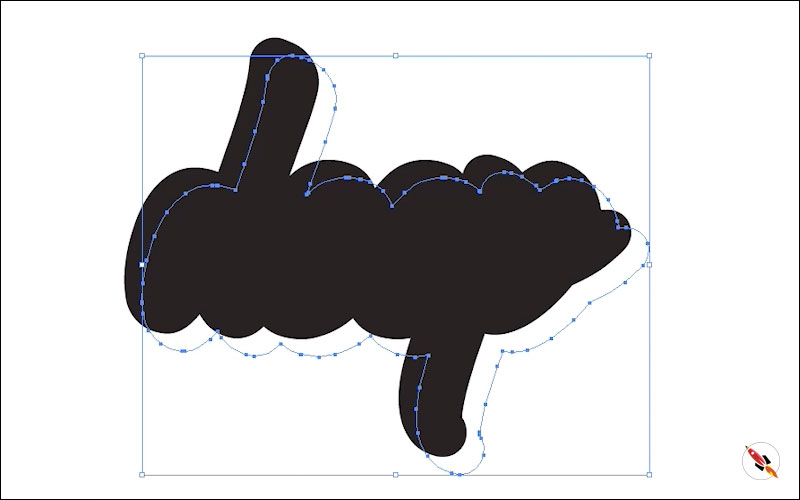
Convert your text into outline from “Create Outline”, you can right click on text and convert it into outline also.
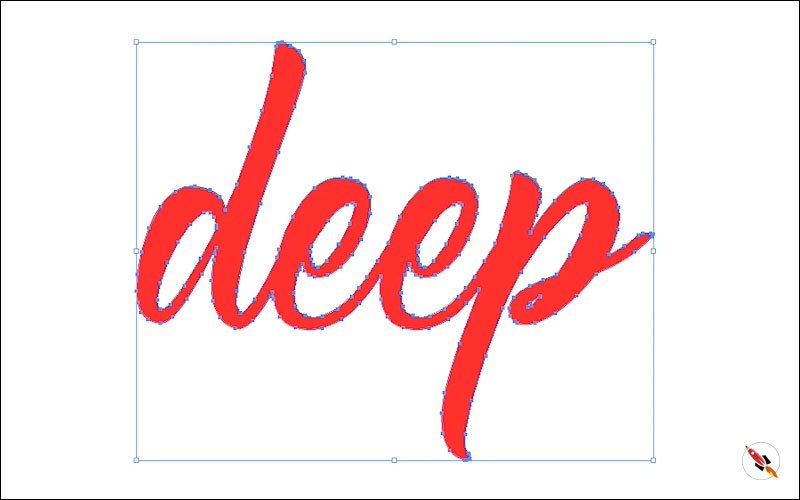
“Unite it” from pathfinder tool.
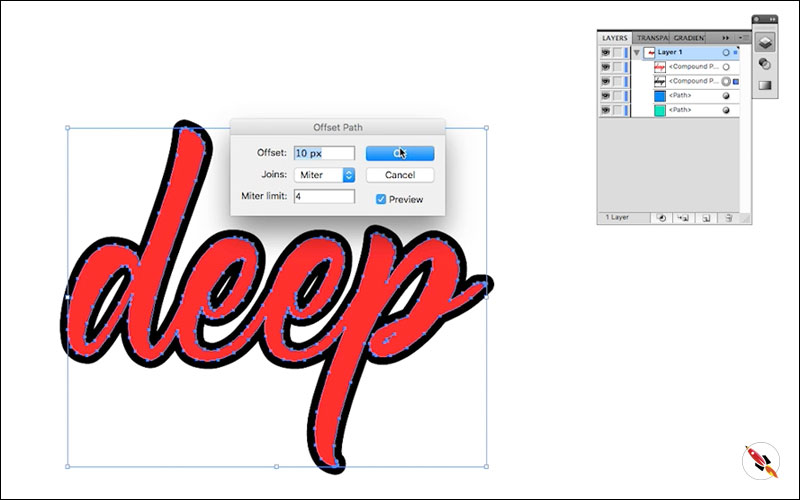
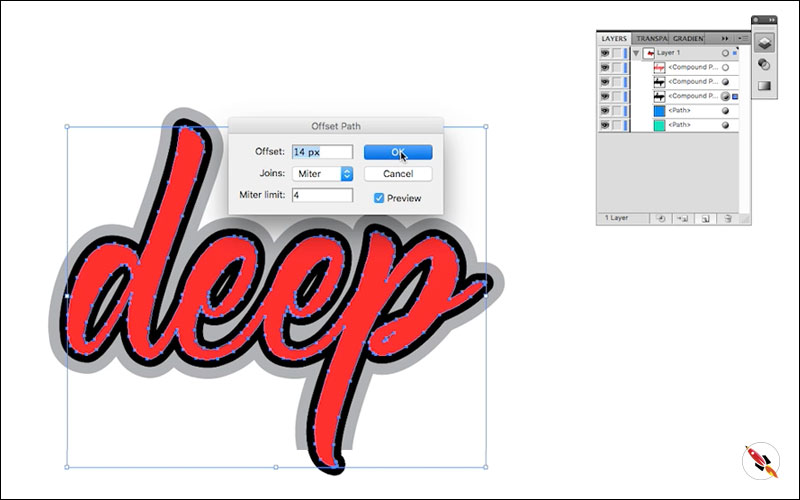
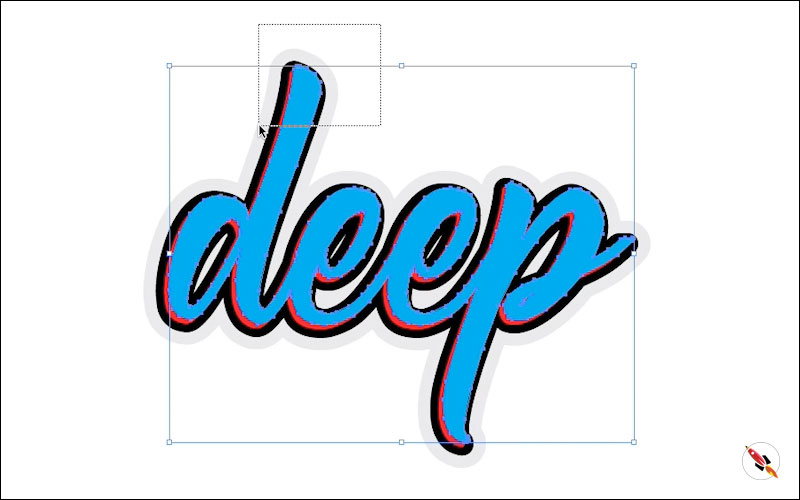
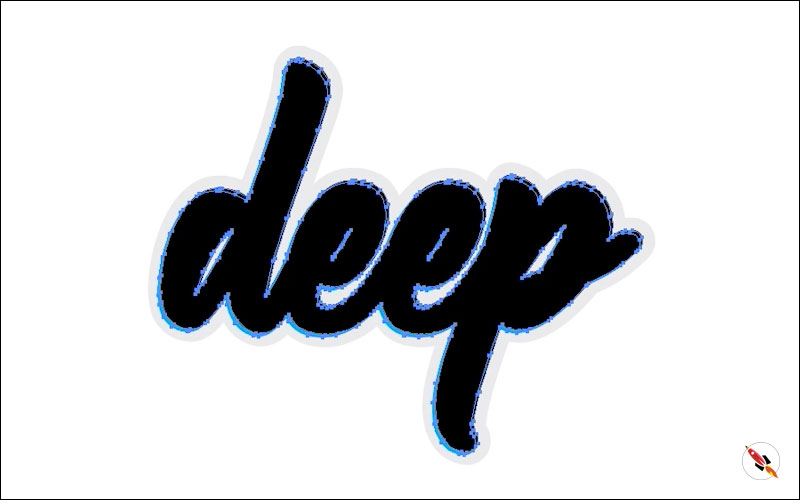
Make more copies, Select back layer and expend from “Effects – Path – Offset path”. We will fill it black.
Make another copy of black layer, expend it more, keep it light grey.

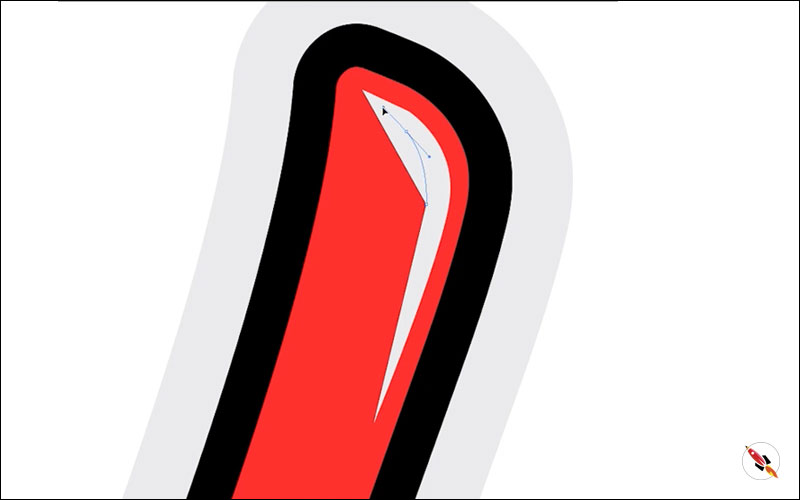
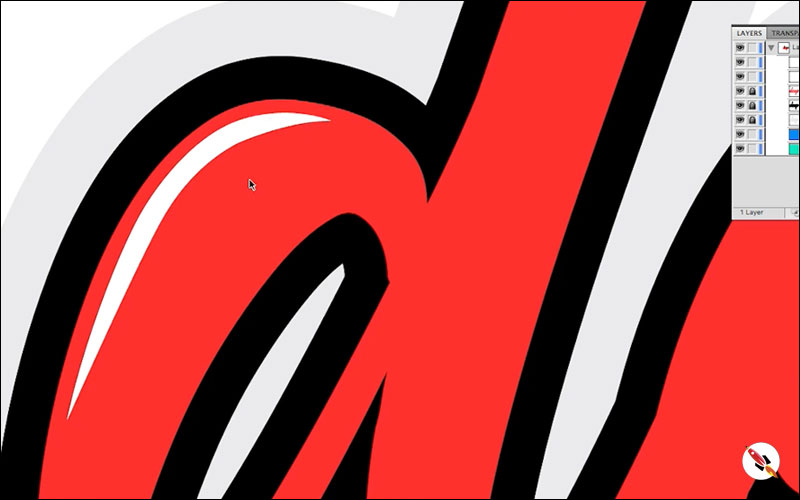
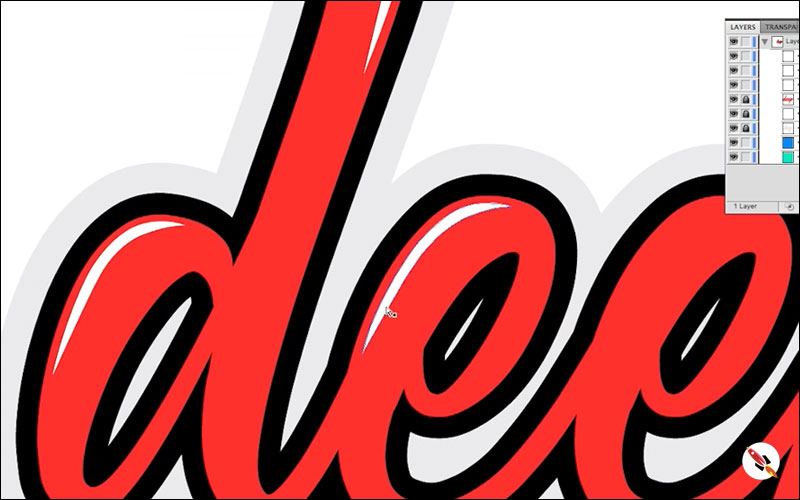
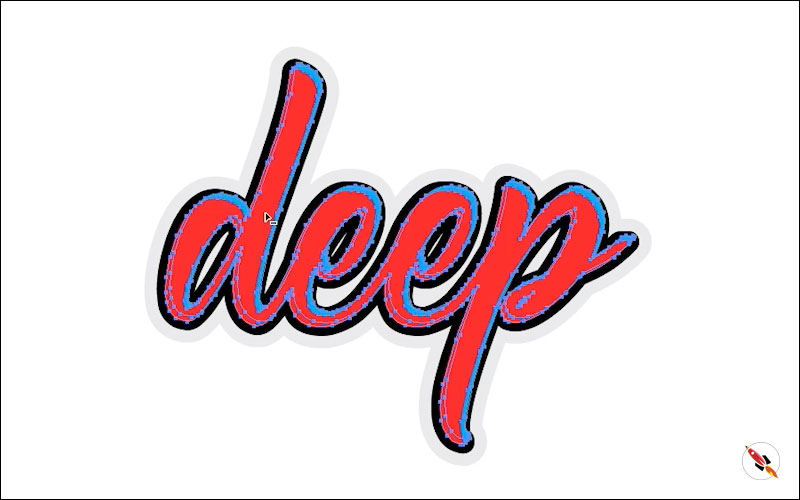
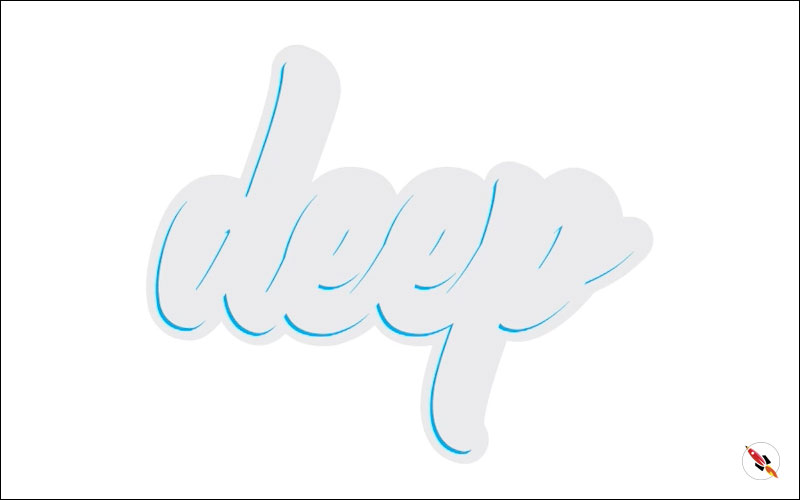
Now we are creating some highlighted points with “Pen Tool” and fill white color, so that it will feel like light and shining parts. We can apply little blur on that also, that will gives it a feel like light which merge into graphic.

Make two more copies of main upper one layer, which we converted from text.
Move upper one copy, slightly right and upper side. Give different color to both layer so that we can view the highlighted area which we need to cut with above layer.
Select both layers, use “Shape builder tool” and click on the bottom part, it will sliced bottom part separate, we need only bottom part, remove rest of the cuttings, we use it as shadow or curve of the text.
I apply black color & reduce opacity on the layer, or you can apply “Differences” effect from “Transparency” options.
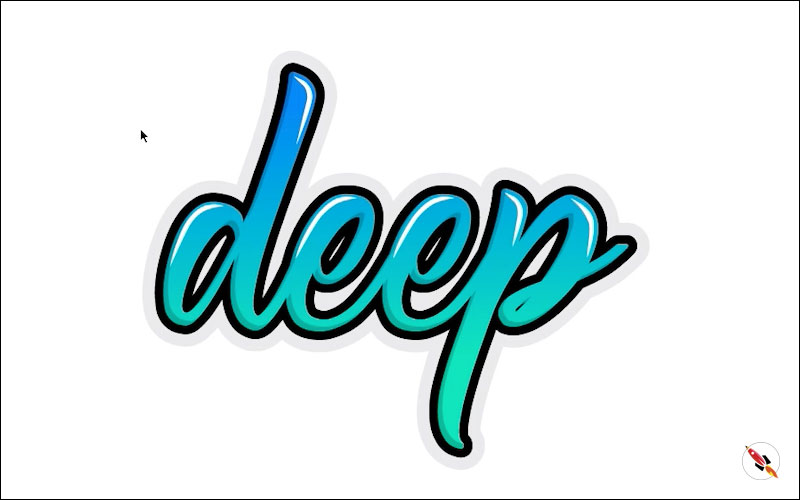
Select main layer and apply cool gradient.
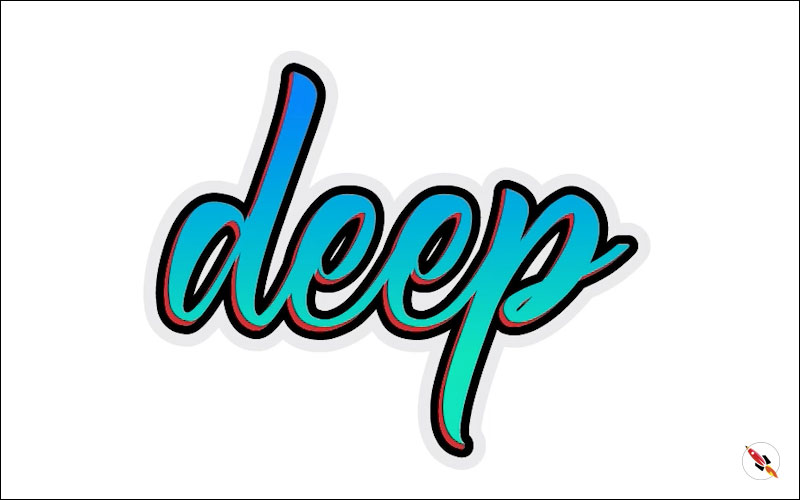
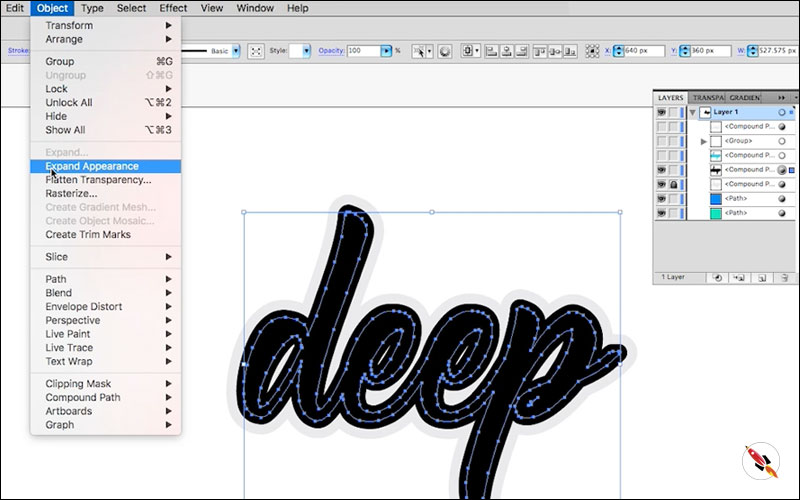
Do that same process again with back side black layer, i use “Expend Appearance” from object menu, so that i can merge border part with the layer.
We need to give a shadow/curve on left bottom side
Apply color to back one. Again i make 2 copies of same layer, move slightly left and down upper-one, Select both and cut upper-one from “Shape Builder Tool“.
I make fill it with grey color.
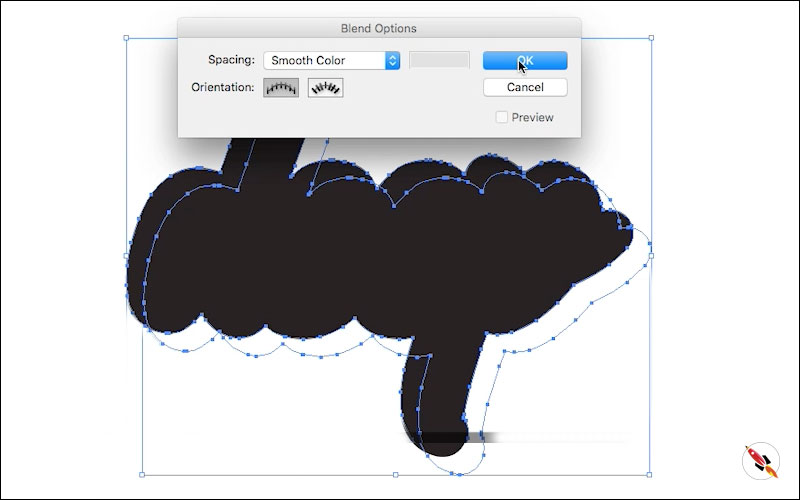
Now its time to create shadow of this whole graphic. Select the very back layer, “Expend Appearance” if its have border or we apply expend path only. Make 2 more copies.
Fill black color on upper one and white on down one. Move white back layer to right and down, or the direction where you need your shadow will appear.
Select both layers. Apply “Object – Blend – Blend options – Smooth blend”
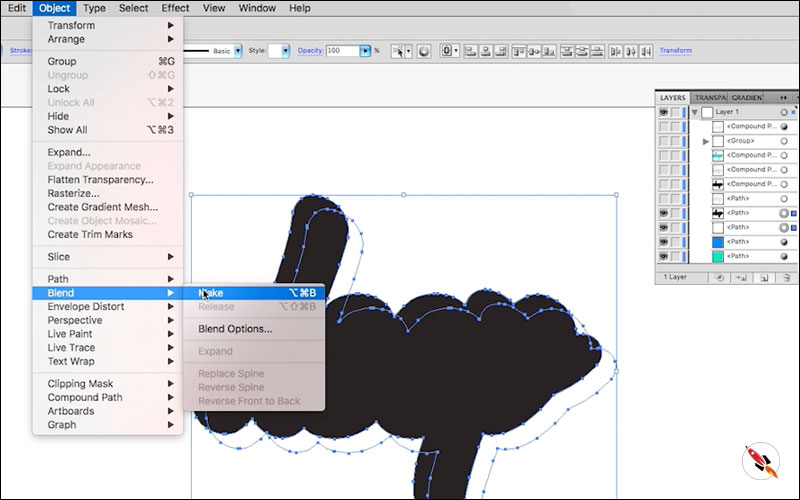
Now again go to “Object – Blend” and click on – “Make”.
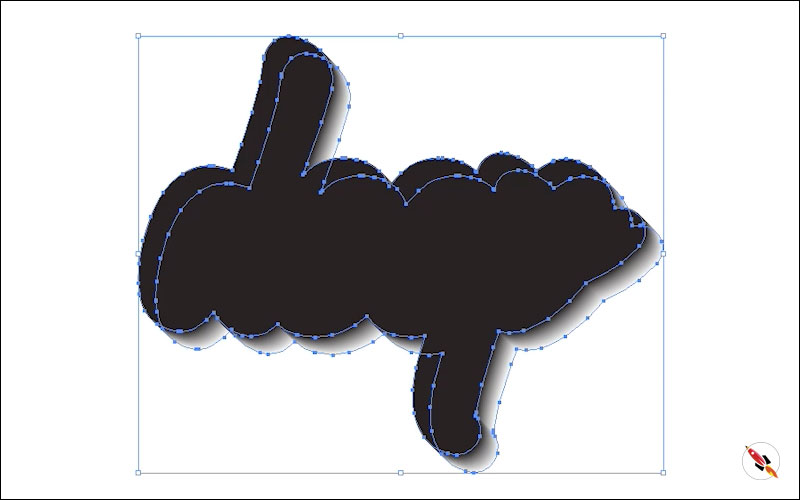
Move this shadow on back and enable all upper layers.
There are two layers in “Blend” group, Select black layer and apply as light grey as you need light shadow. I make it 30% Grey.
Move it on back and enable all layers.

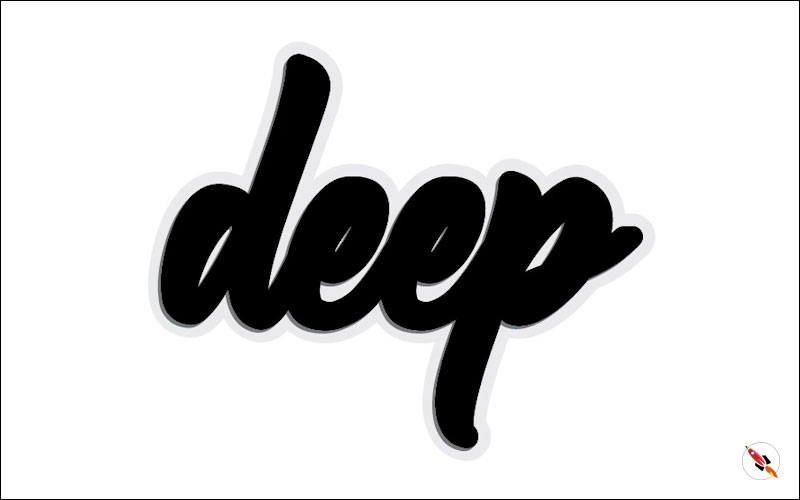
Congratulations You’re Done, It’s ready!
Create Hexagon Background in Illustrator
Create Hexagon Background in Illustrator Create Hexagon Background in Illustrator This tutorial about to create Hexagon Background in adobe illustrator Illustrator. It's a repetitive process of hexagon shape and
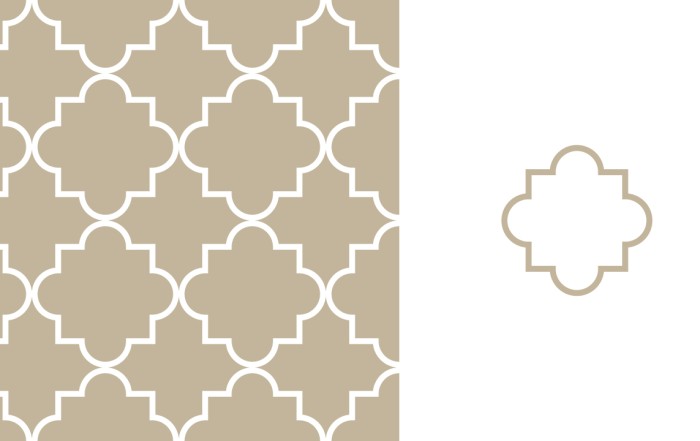
Arabic Seamless pattern in adobe illustrator
Arabic Seamless pattern in adobe illustrator Arabic Seamless pattern in adobe illustrator Create Arabic Seamless pattern in adobe illustrator. With some easy steps, you can create this kind of

Multiply shape through rotation tool & create flower in adobe illustrator
Multiply shape through rotation tool & create flower in adobe illustrator (Creating Shapes – Part 15) Multiply shape through rotation tool & create flower in adobe illustrator (Creating Shapes – Part 15)
Create Zig Zag Symbol within a minute
Create Zig Zag Symbol within a minute | Illustrator for beginners (Creating Shapes – Part 14) Create Zig Zag Symbol within a minute | Illustrator for beginners (Creating Shapes – Part 14)
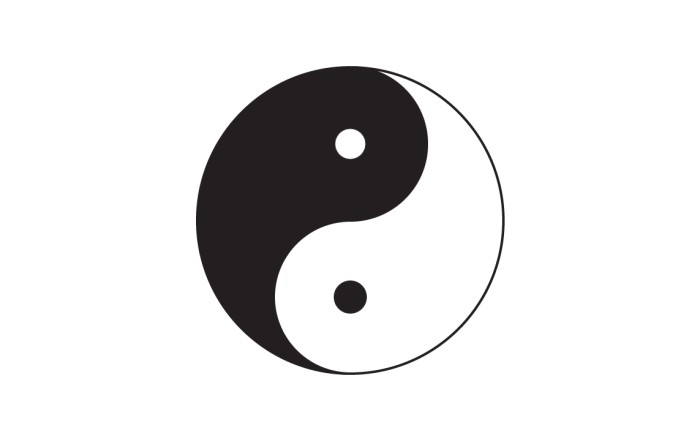
Create Yin Yang Symbol within a minute
Create Yin Yang Symbol (Creating Shapes – Part 13) Create Yin Yang Symbol (Creating Shapes – Part 13) A one minute tutorial, about to create Yin Yang Symbol in
Some other tutorials of text effects:
Text effect tutorial (Adobe illustrator) (Text Effect 8)
Text effect tutorial (Adobe illustrator) (Text Effect 7)
How to create sliced text effect in Adobe Illustrator
How to create neon effect in Adobe Illustrator
How to Create Isometric 3d text or object in adobe illustrator
How to create lined text in adobe illustrator
How to create Isometric text & Isometric grid in illustrator
Watch this tutorial on Youtube
https://youtu.be/TUsTvEdcmtE
☆☆☆ SUBSCRIBE to our youtube channel for more Videos Tutorials:
http://bit.ly/2Nmn2Dn
☆☆☆ WATCH more Videos and FREE Tutorials:
http://bit.ly/2IXX4Sk
Tutorial Playlists {Youtube}
Adobe Illustrator: http://bit.ly/2XlYP4I
Adobe Photoshop: http://bit.ly/2xo0bfu
Subscribe, Follow & Connect with us on:
Facebook: https://www.facebook.com/deeptuts/
Instagram: https://www.instagram.com/deeptuts/
Pinterest: https://in.pinterest.com/deeptuts/
Youtube: http://bit.ly/2IXX4Sk
Twitter: https://twitter.com/Deep_Tuts